Is building container houses challenging? The answer is no. Choosing a professional partner makes everything simple and efficient. As China’s leading container building manufacturer, K-HOME provides end-to-end services from consultation and design to manufacturing, transportation, and installation. We are committed to eliminating all your concerns. Through our proven integrated solutions, we ensure your project is swiftly realized and put into use. So, how do you begin your container construction journey? This article will address common questions and delve into key details throughout the construction process.
What is a prefabricated container house?
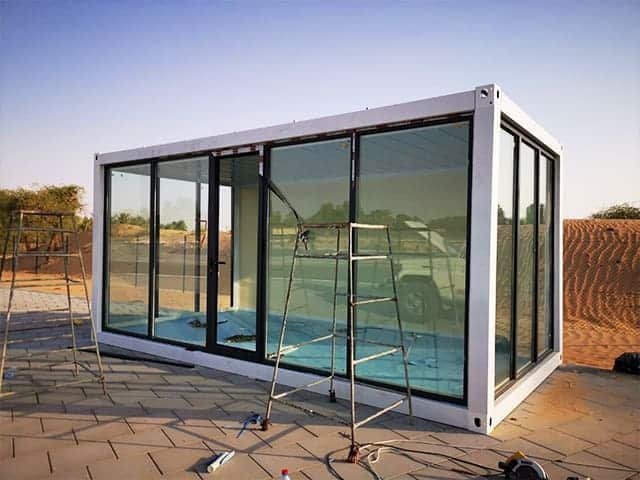
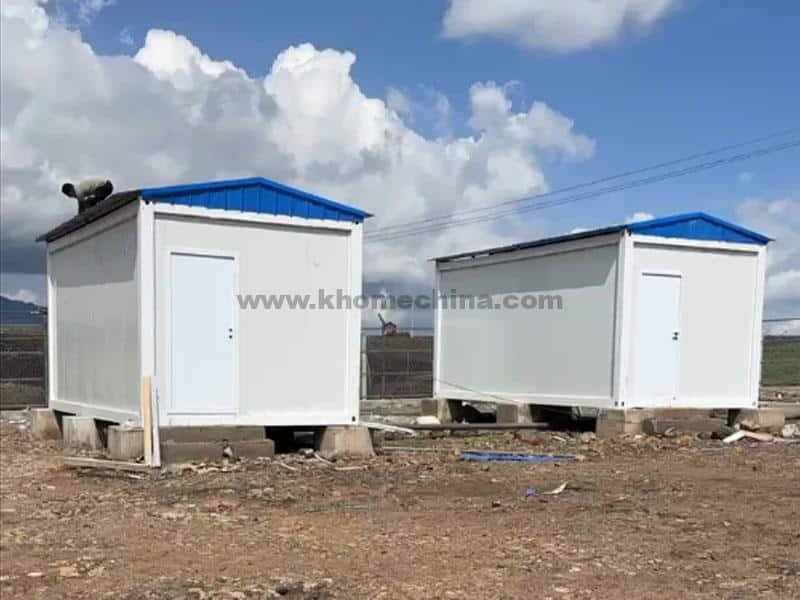
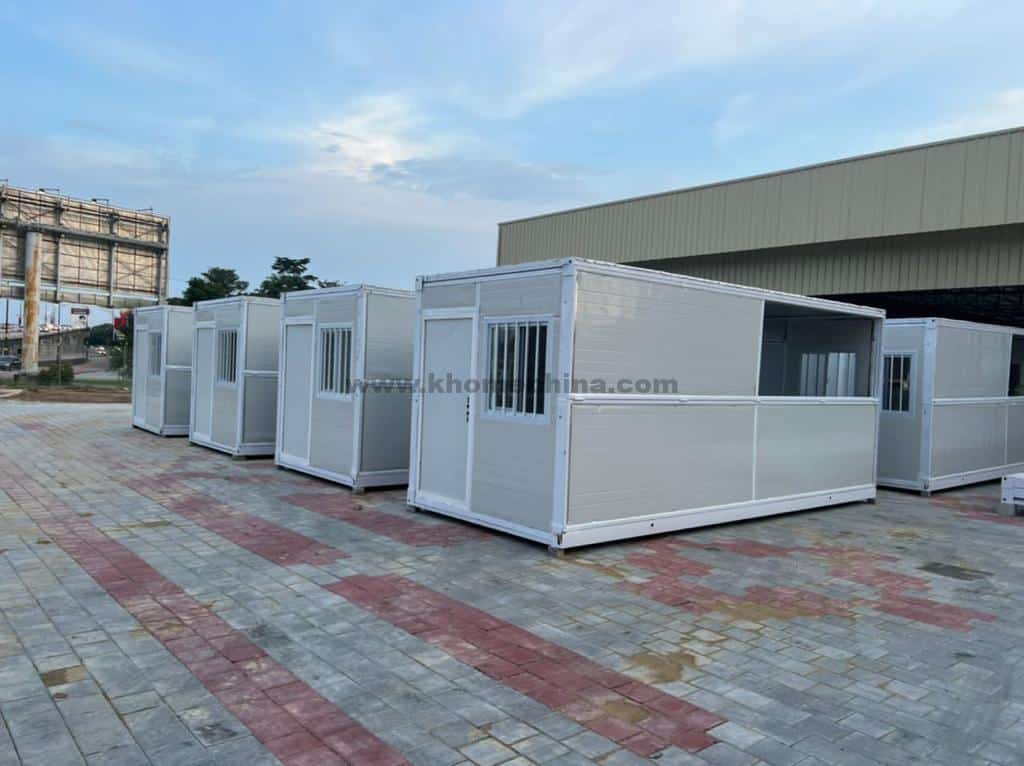
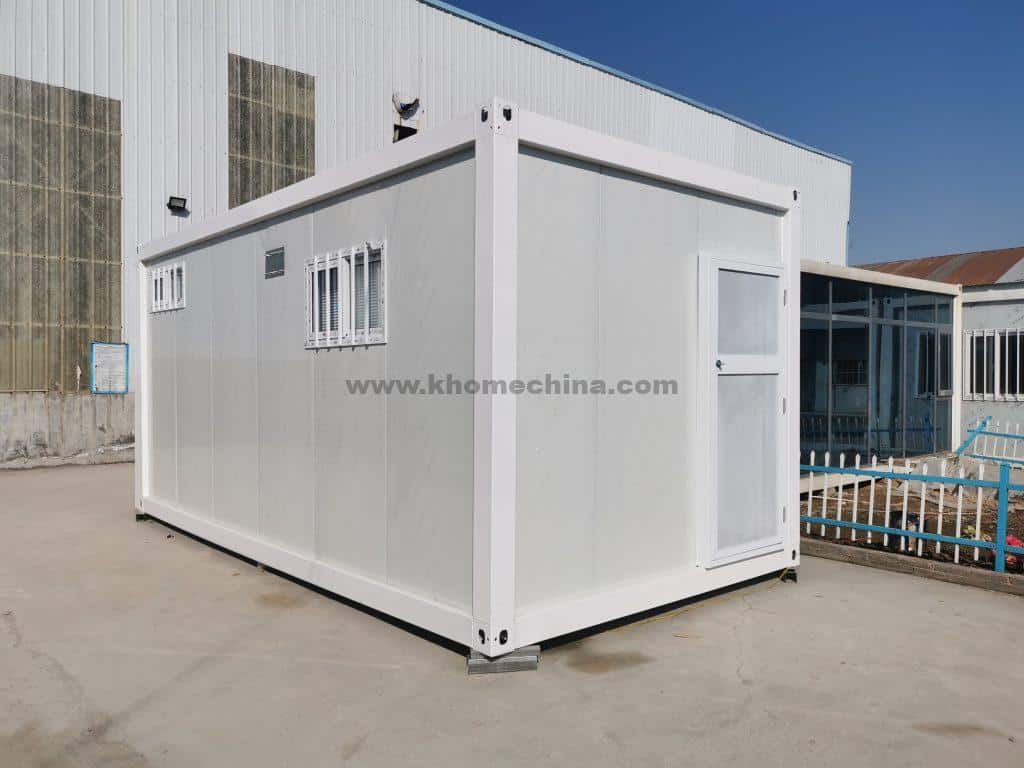
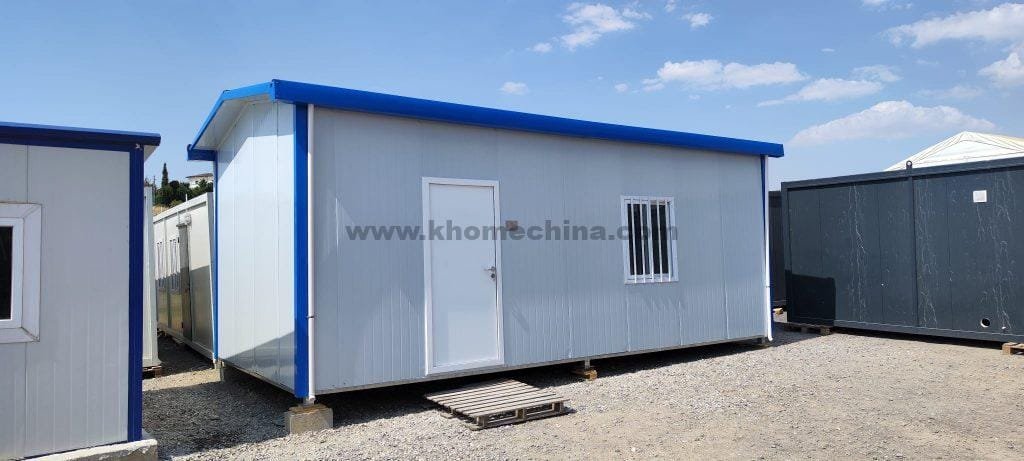
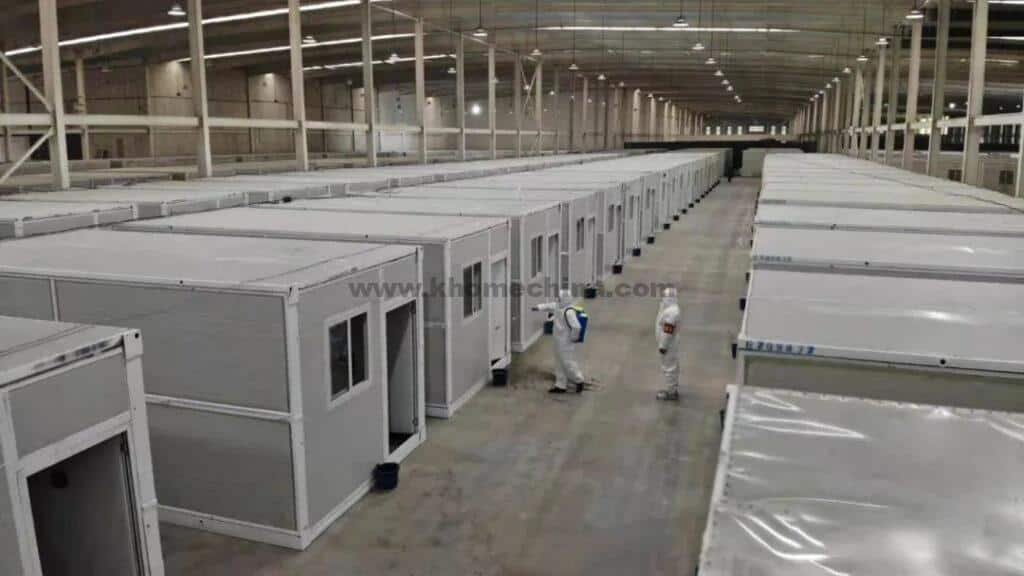
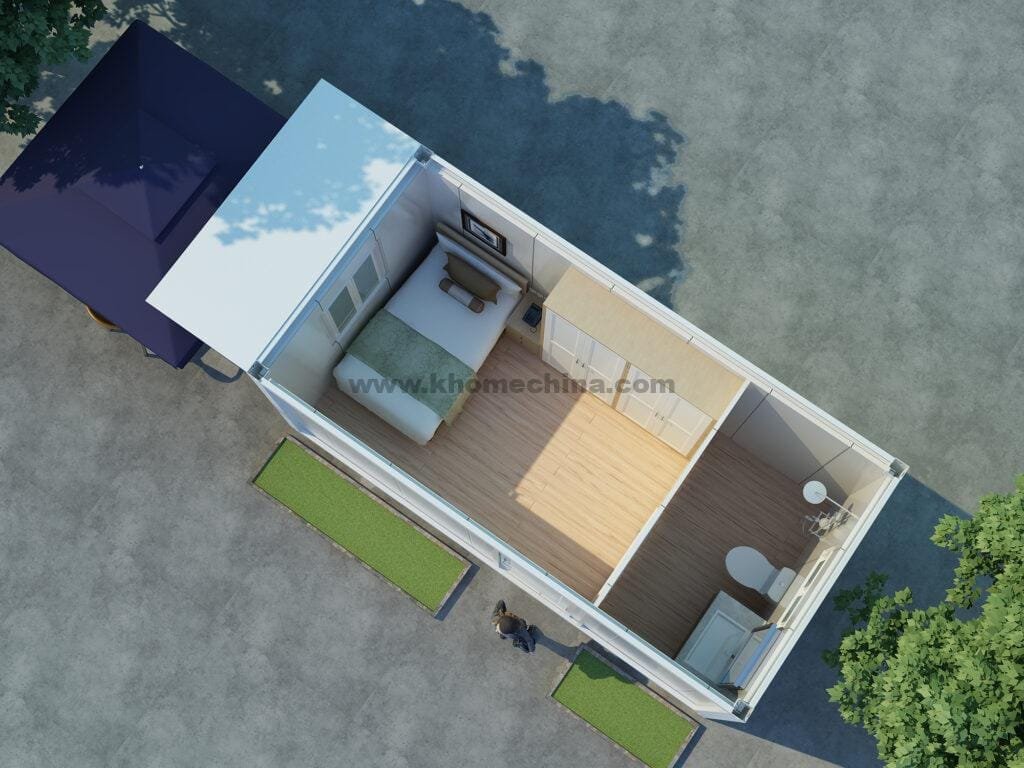
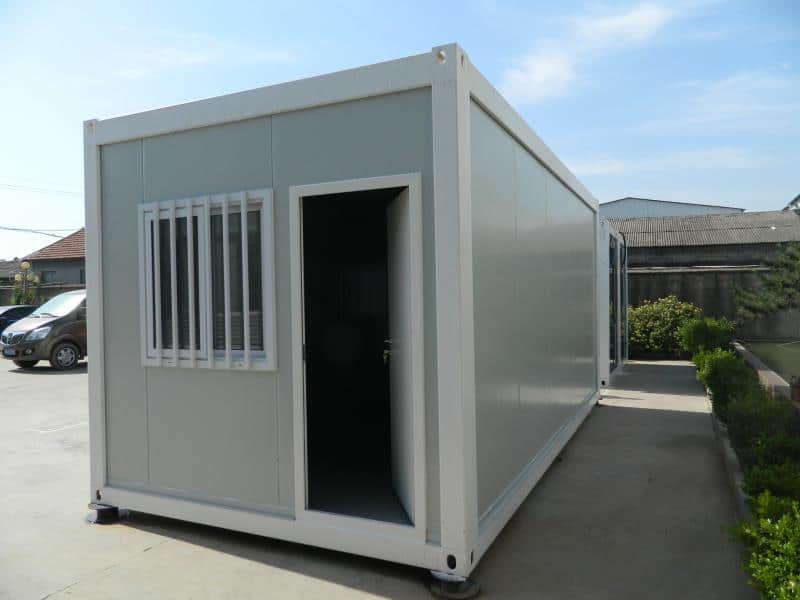
Prefabricated container houses are temporary structures manufactured with precision in factories and transported to sites for rapid assembly. Unlike standard shipping containers, all components feature a detachable design. After prefabrication in factories, they are shipped to sites and assembled using methods like bolt connections, significantly boosting construction efficiency.
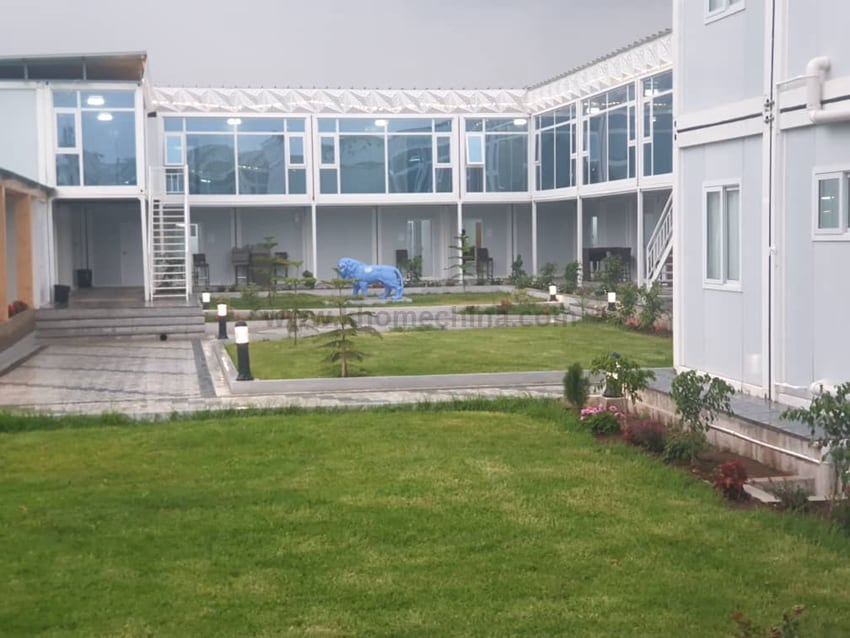
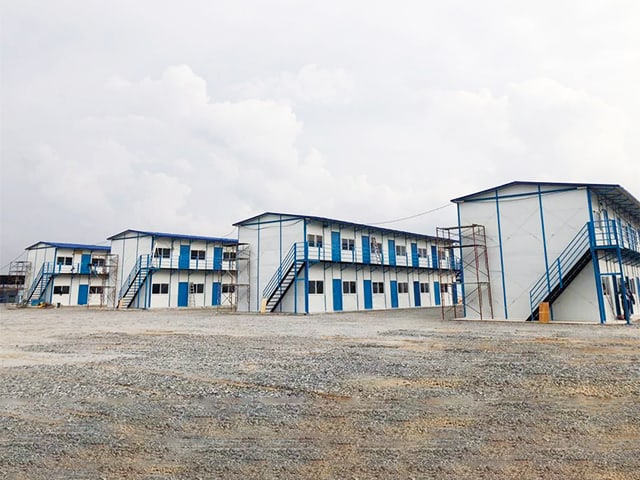
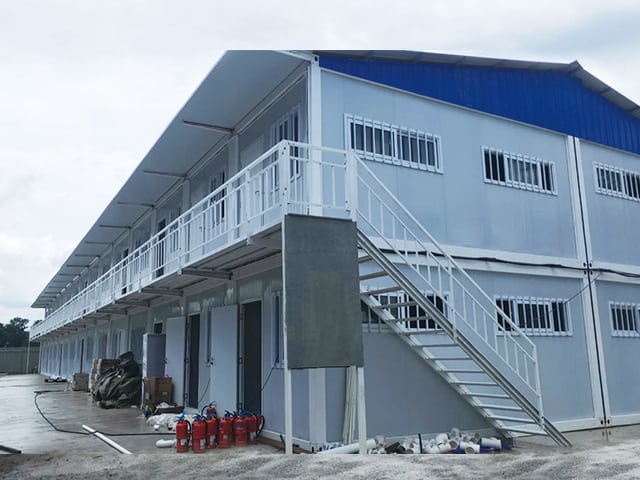
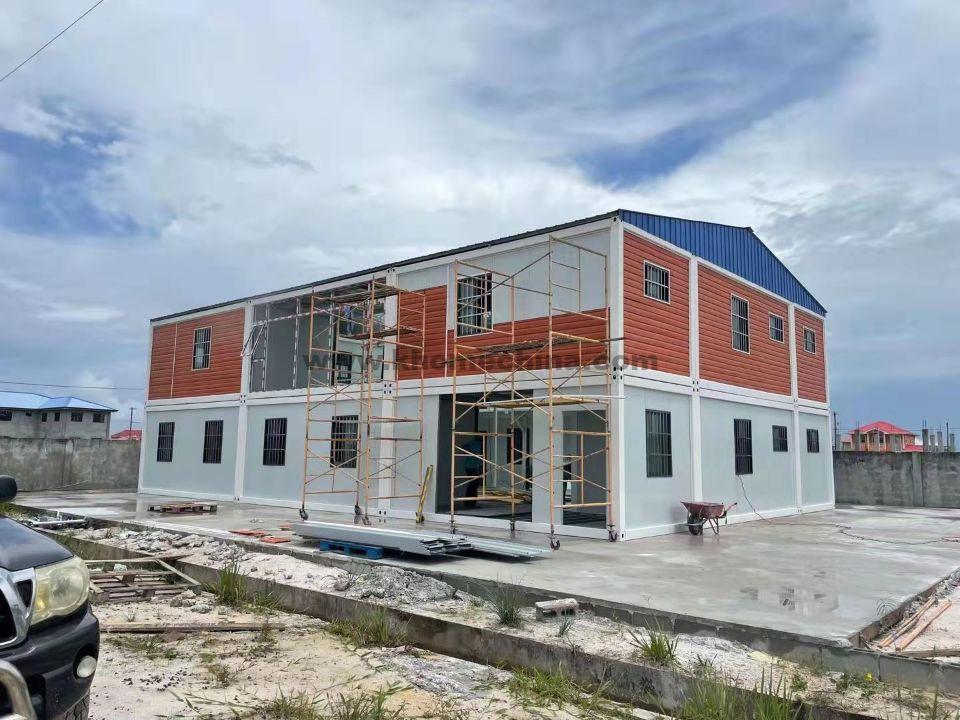
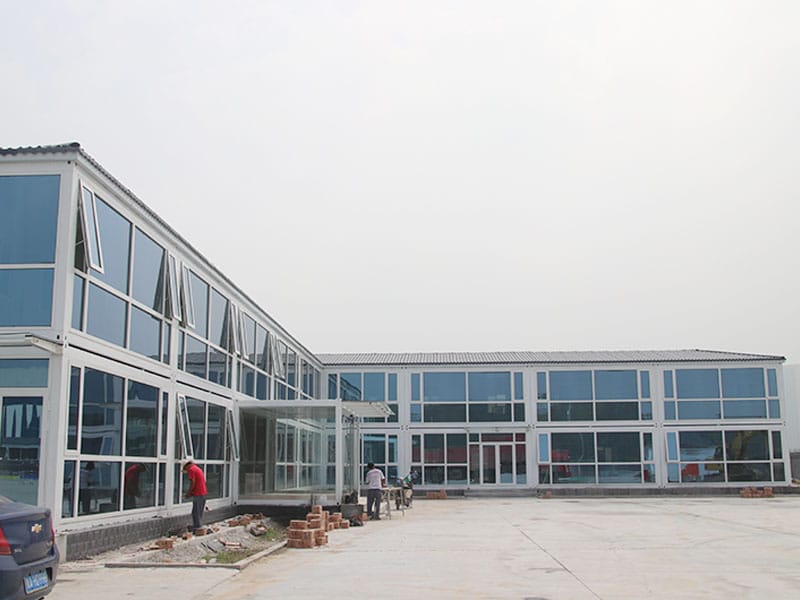
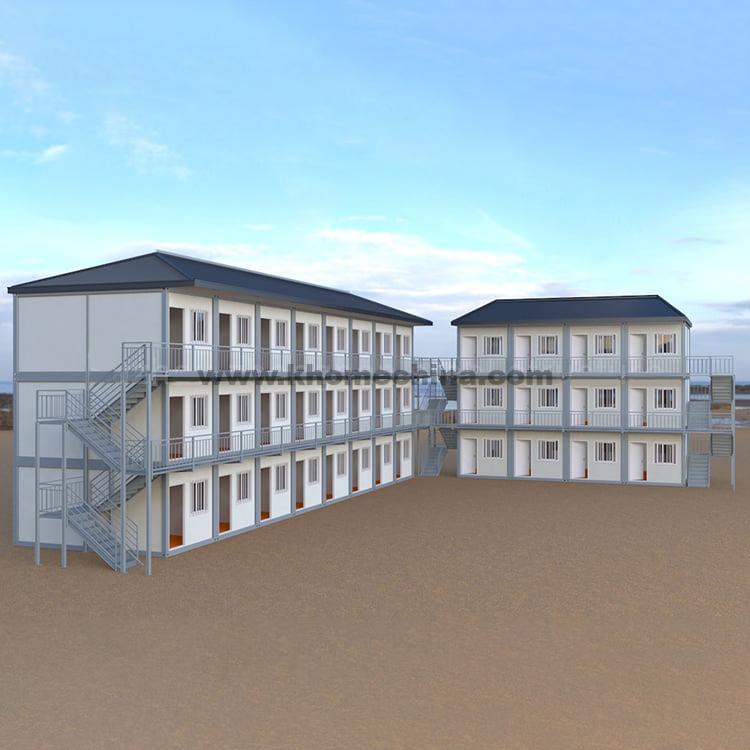
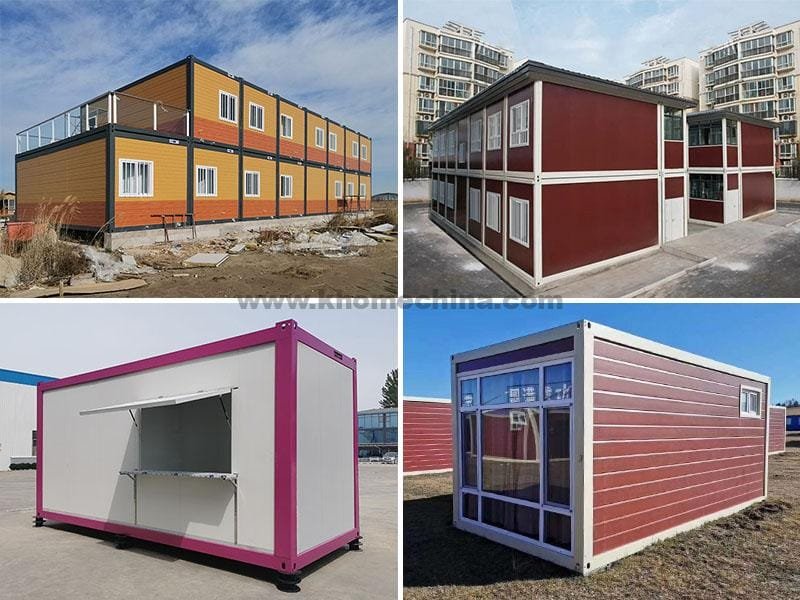
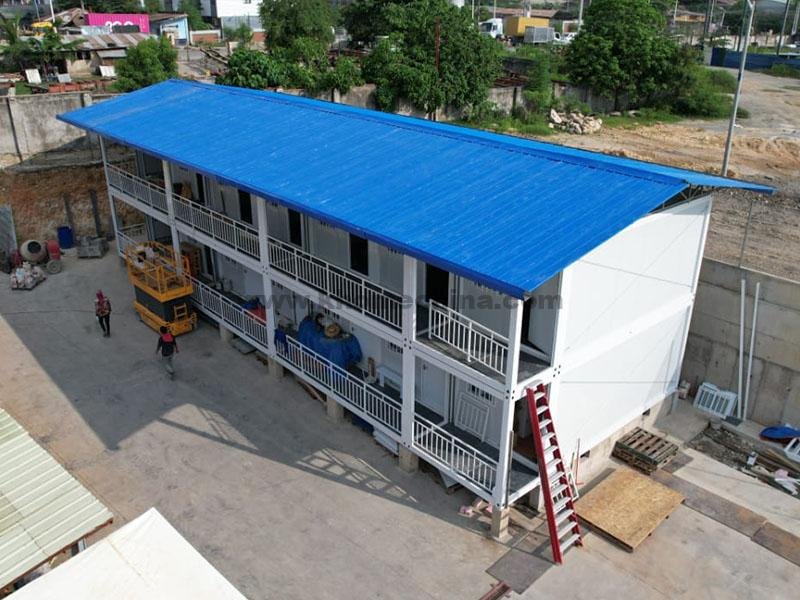
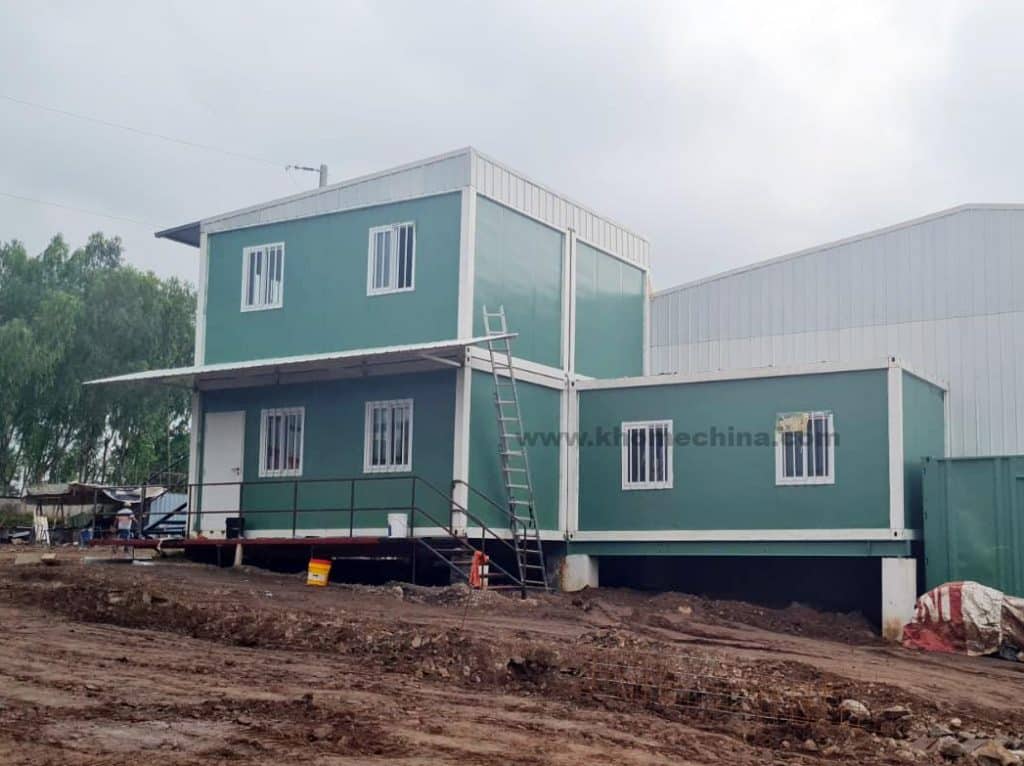
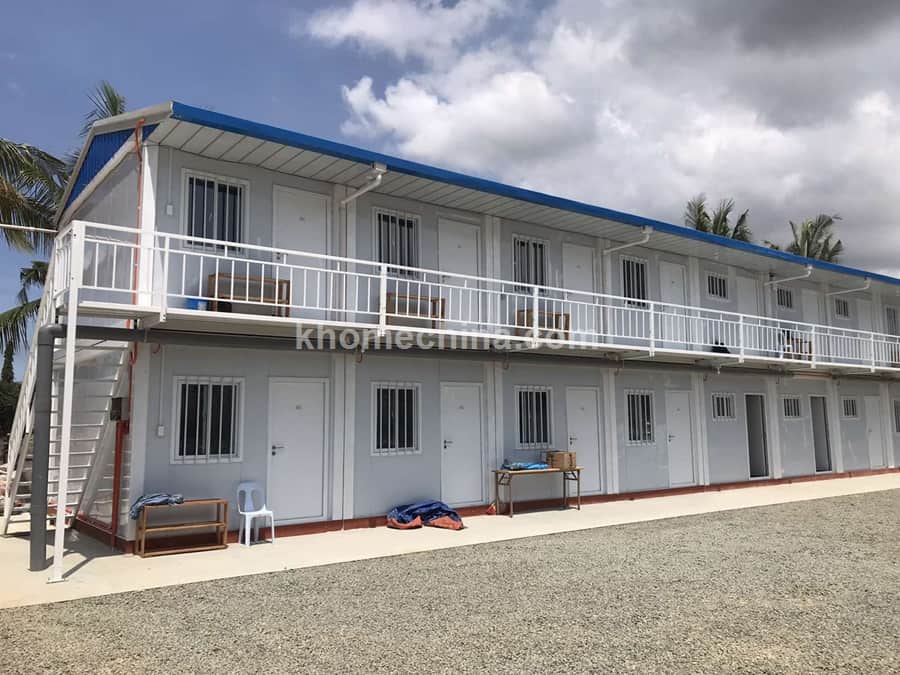
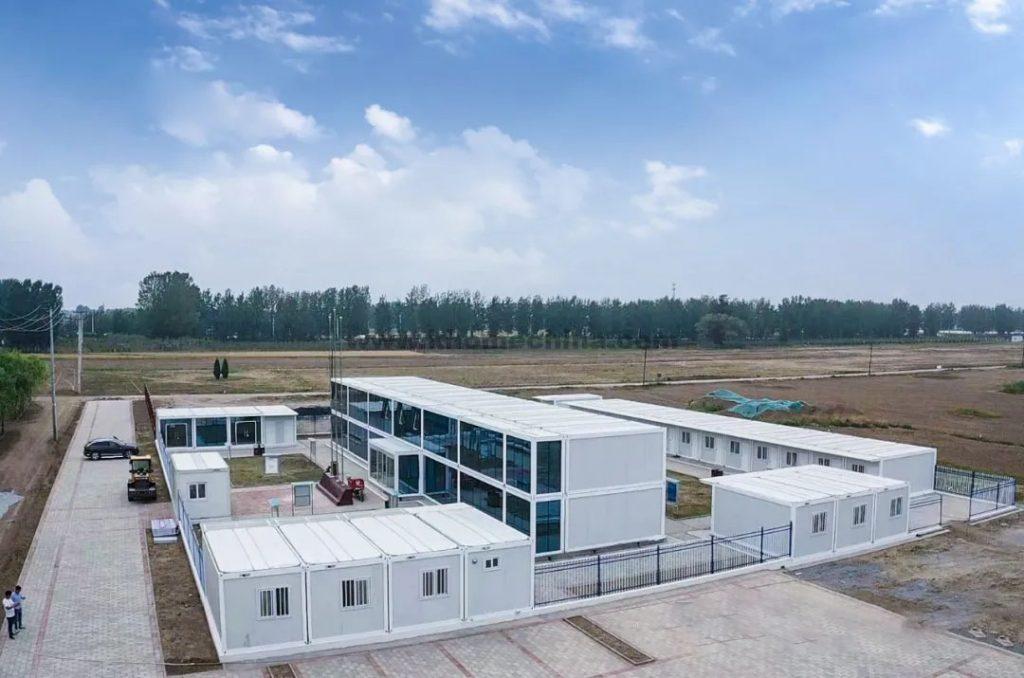
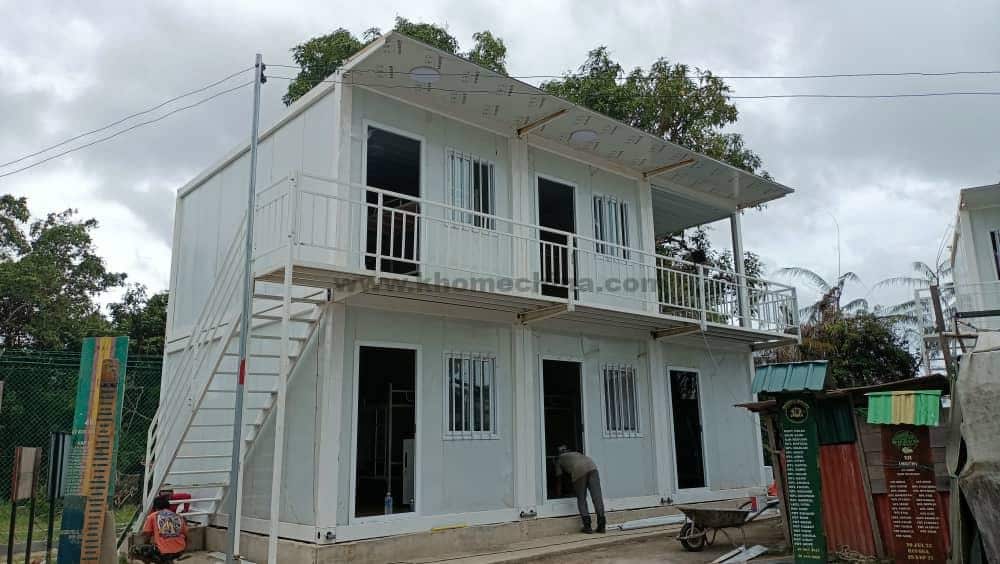
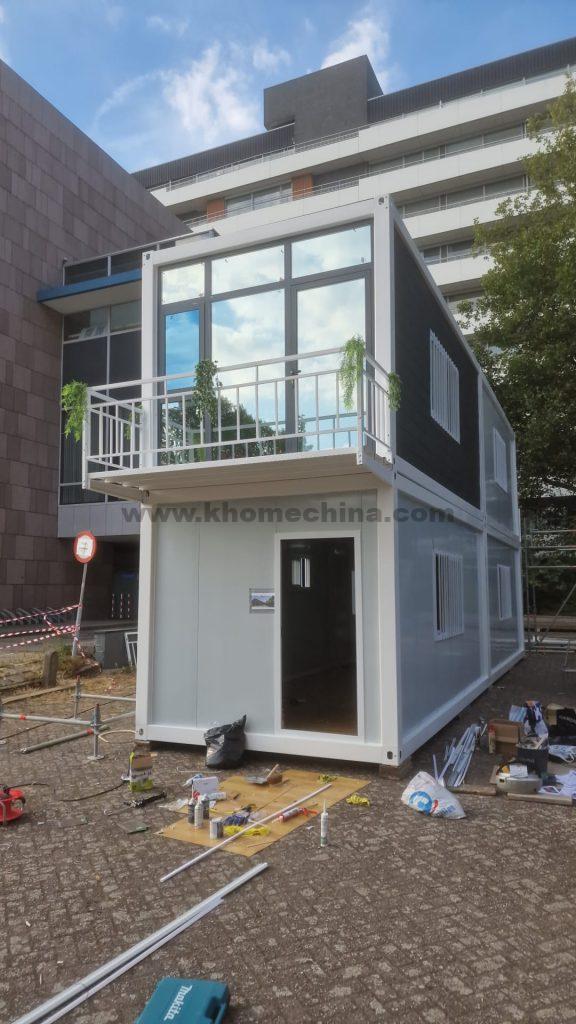
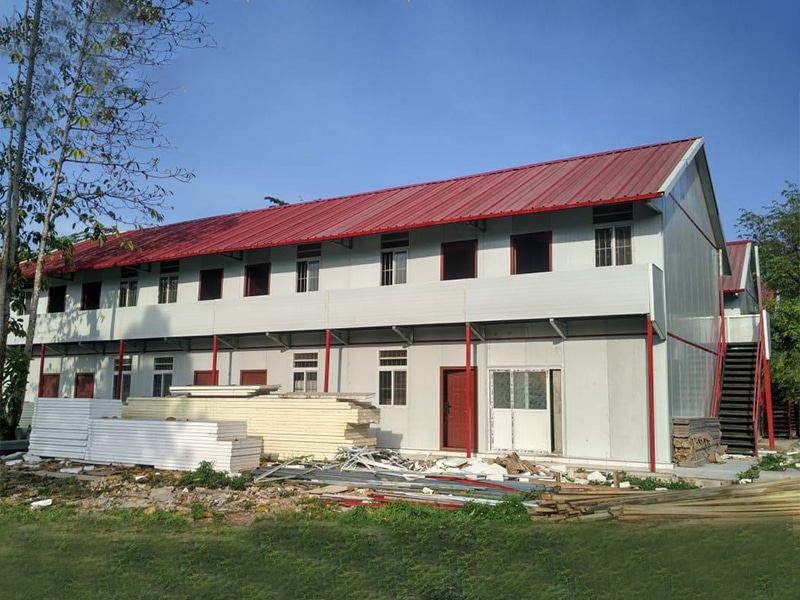
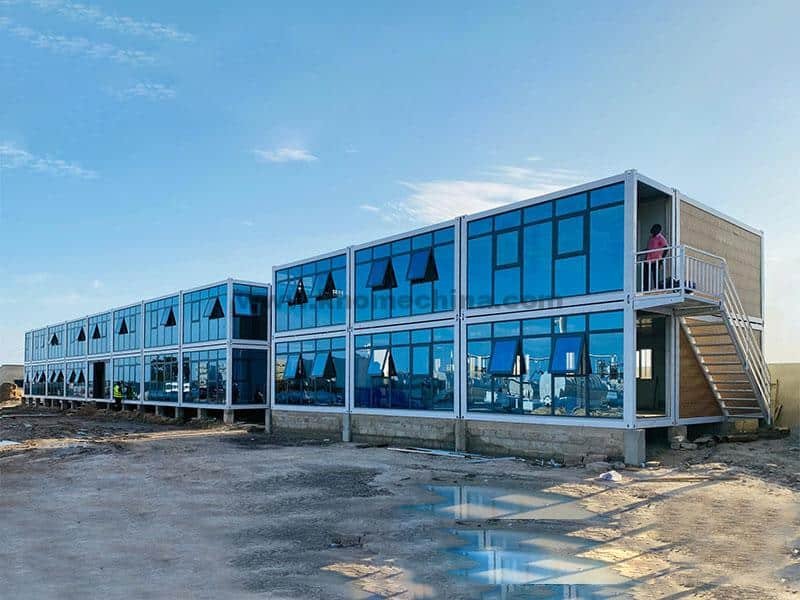
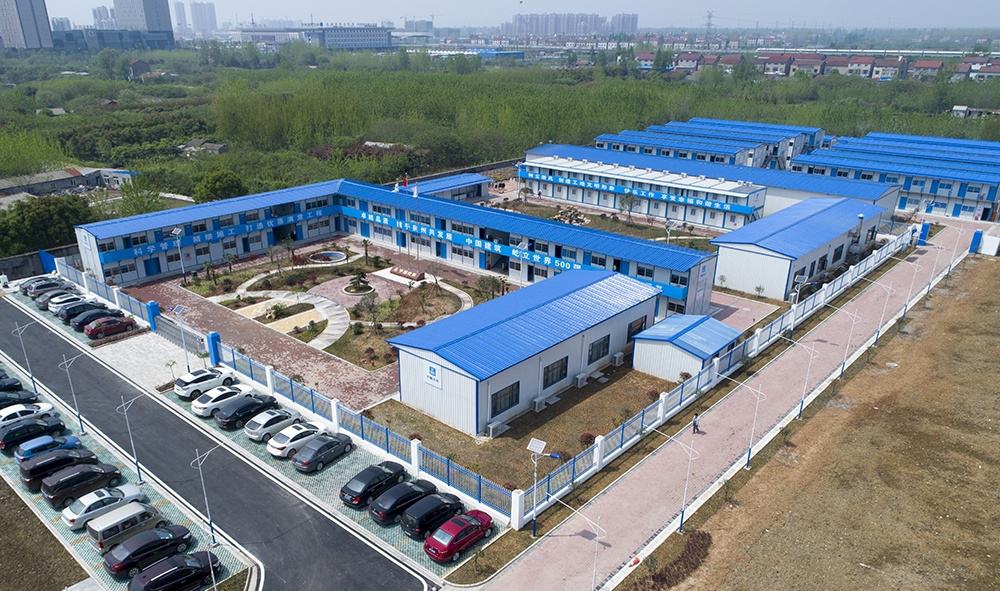
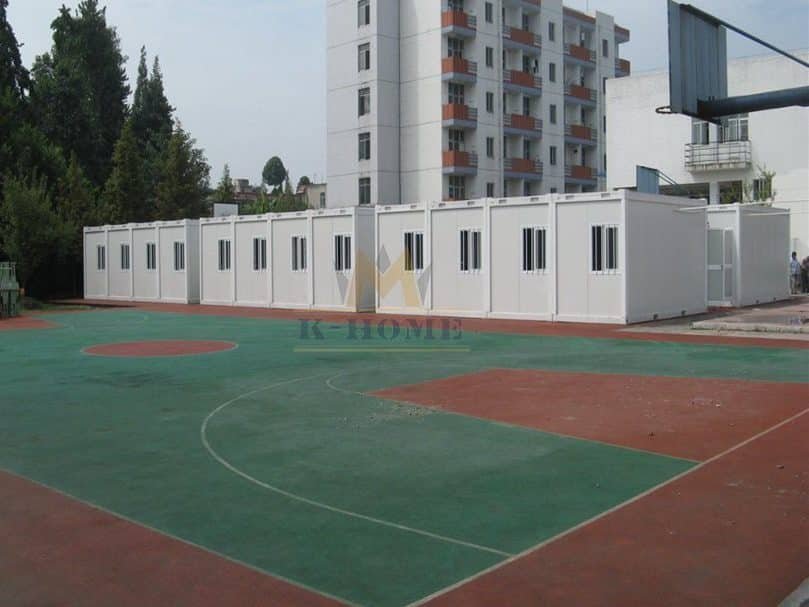
Prefabricated container buildings are a highly flexible modular construction format. They can function independently or be combined horizontally or vertically to create multi-story office spaces, employee dormitories, or other functional areas. Typically capable of supporting 2 to 3 stories, they meet diverse spatial expansion needs across various scenarios.
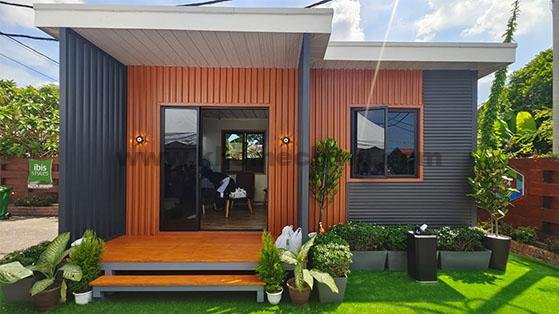
Each prefabricated container building is a customized product. Its design fully integrates site conditions, functional layouts, and budget requirements. It achieve comprehensive tailoring from structural form to internal configuration—truly embodying the principle of “tailor design.”
The Benefits of Build a Container House
- Compared with traditional housing, they have a great price advantage. They are generally more cost-effective than traditional housing because they require less building materials and labor to build.
- The installation speed of the container is very fast. Only 3 workers are needed to complete the construction of a container house in one day.
- They are modular structures. This means that the container is easy to install and can be flexibly laid out. The standard size of our container house is 20 feet. It can be stacked up to 3 floors, and the container housing bureau is flexible, suitable for workers’ dormitories, temporary offices, conference rooms, prefabricated classrooms, hospitals, etc.
- They are durable, low-maintenance, and safe. The overall frame of the container is made of galvanized, which can withstand the harsh weather conditions in remote areas better than traditional houses.
- Repeatable disassembly and assembly, easy to move. The container can be repeatedly disassembled and transported to any place, which is very suitable for the construction site where the project site needs to be changed.
- The material can be recycled. Steel is one of the most common recycled materials on the planet, and up to 90% of the materials that make up the container are recyclable. All you don’t have to worry about wasting resources.

Do container houses require planning permission?
Before launching a container housing project, the primary step is to understand and comply with local laws and regulations, confirming whether zoning regulations and building codes in the area permit such structures. Note that not all countries or projects require approval, and specific requirements vary significantly depending on the nation, region, and intended use of the building. The following outlines the types of countries requiring approvals and common purposes for which approvals are typically sought:
Countries Requiring Approval
- Countries with Mature Approval Systems and High Approval Rates:Countries such as the United States, Canada, Australia, New Zealand, and the United Kingdom have generally incorporated container buildings into their existing building code systems. Provided projects meet structural, safety, and energy efficiency standards, approvals typically proceed smoothly.
- Countries with Strict Approval Processes and Case-by-Case Review:This includes most EU nations, where approvals focus on structural safety, energy efficiency performance, and harmony with the surrounding environment. For instance, some countries require submission of structural static calculation reports from professional institutions (K-Home can provide design and calculation documents compliant with regulations).
- Regions with relatively lenient approvals:In some Southeast Asian and Latin American countries, regulations exist but enforcement may be more flexible, resulting in lower practical approval thresholds.
- Regions potentially exempt from approvals:In certain African countries, none of our implemented projects to date have required government approvals. However, verification prior to implementation is still recommended.
Types of Projects Requiring Permits
The intended use of container buildings directly impacts the complexity and focus of the permitting process:
- As primary residences & schools: This category faces the strictest permitting requirements, necessitating full compliance with residential building codes.
- As backyard accessory structures (e.g., studios, storage units): The permitting process is typically streamlined.
- As temporary structures: May qualify for permit exemptions or simplified procedures.
General Approval Process Recommendations
- Consult local planning authorities to obtain building code requirements.
- Contact a professional architectural engineer for design.
- Obtain detailed design plans, including foundation drawings, floor plans, elevations, sections, structural calculations, and plumbing and electrical wiring diagrams.
- Submit your application and await approval.
The above content is compiled based on industry practices and common regulatory requirements. When implementing specific measures, always refer to the latest official regulations in the project location. If you have questions regarding target countries or specific applications, we can provide further tailored advice.
Container House Construction Process: 5 Step Guide from Consultation to Installation
Solution Consultation and Selection
Consult our sales team for professional project evaluation and solution recommendations. K-HOME offers three mainstream prefabricated container models. You can choose the most suitable construction plan based on your budget, purpose and design vision.
Determine the design plan
If your project does not have design drawings, you can request our engineers to create a customized design based on your requirements. If you already have design drawings, our designers can review and optimize them to ensure the design is buildable.
Quotation and Order Confirmation
Once the design is finalized, you will receive a detailed quote. If the quote meets your budget, you can confirm and place your order, and the project will officially begin production scheduling.
Production and Quality Control
Once your order is confirmed, we’ll develop a clear production plan and specify delivery times based on the quantity and workmanship requirements of your container house. Strict quality standards are adhered to throughout the entire production process to ensure timely and high-quality delivery.
Transportation, Installation, and Technical Support
Once all container house units are manufactured, they will be securely delivered to your project site. We not only provide clear installation drawings and instructional videos, but also offer professional technical support. K-HOME will provide you with comprehensive installation and commissioning assistance, ensuring a smooth commissioning of your project.
how to Install a container house step by step?
For non-professionals, how to build a container house step by step is not easy. To simplify the operation, we made a video of the installation of a standard container unit and wrote the container house installation guide so that you can quickly complete the installation.
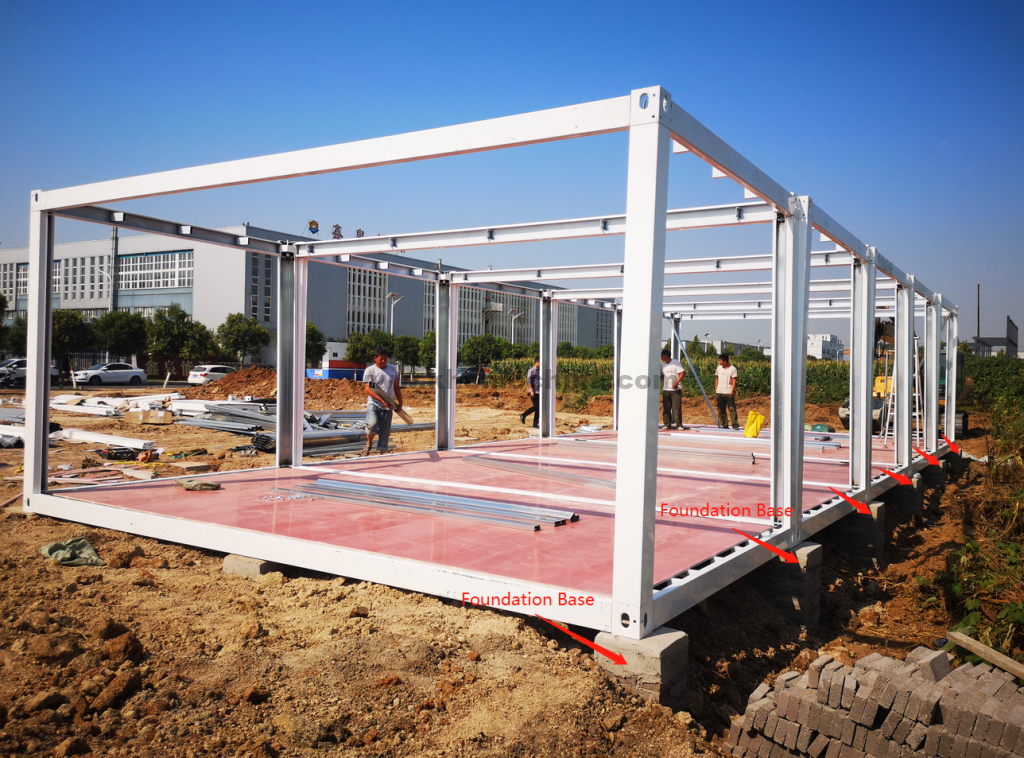
type 1 : Assembly container house installation
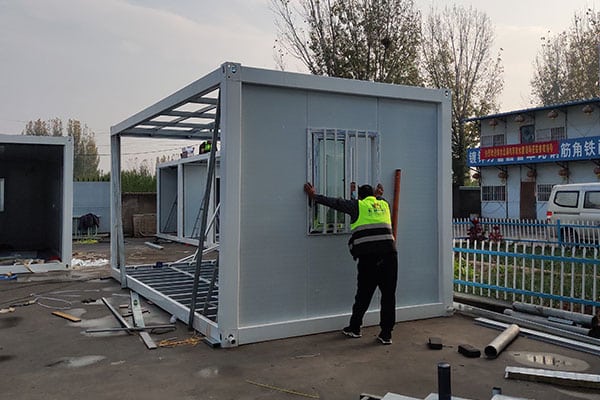
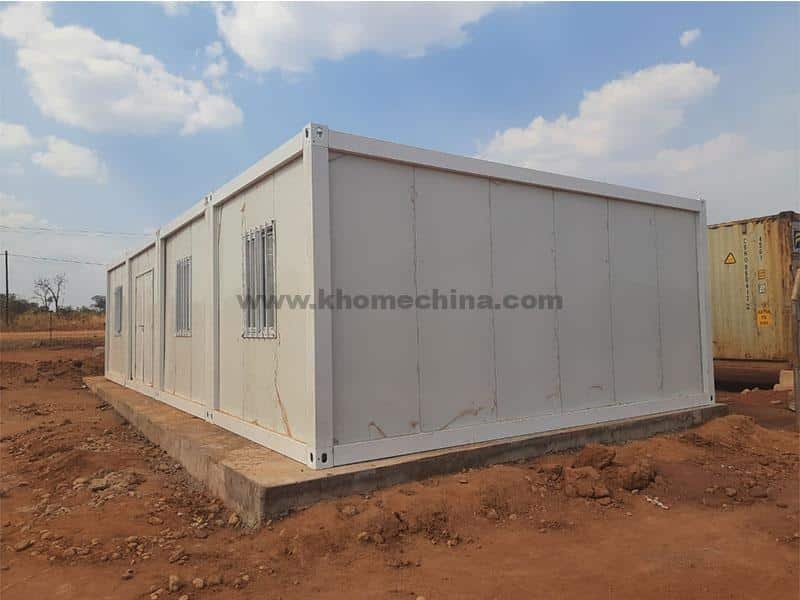
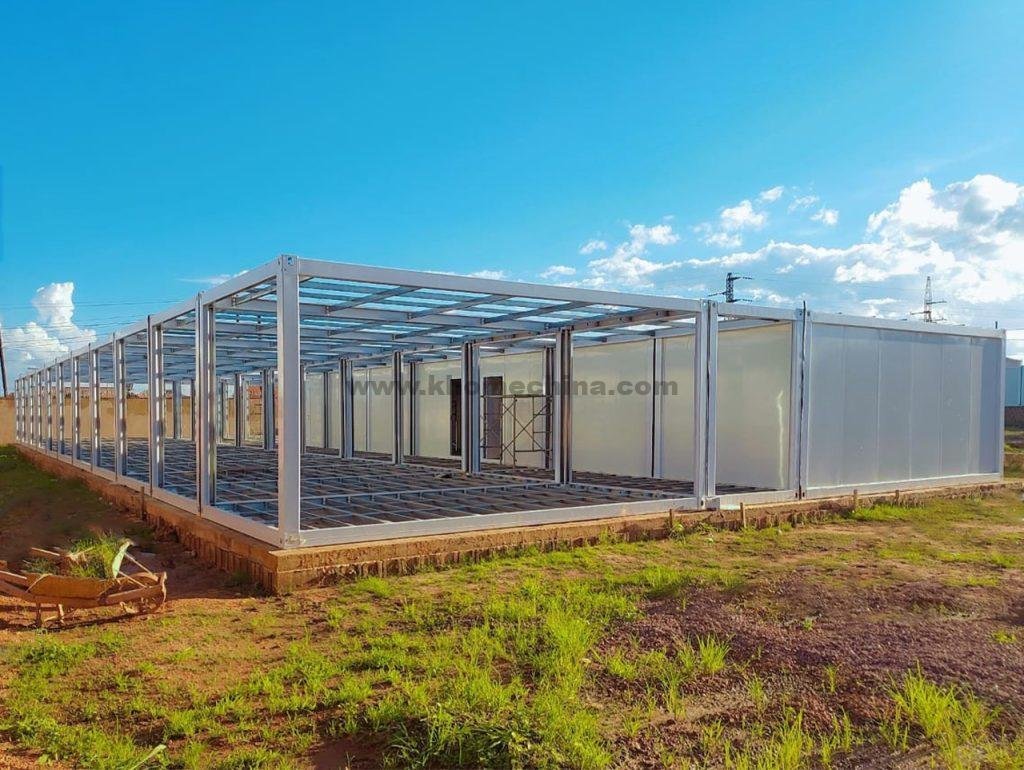
All parts of the assembled container house are connected by bolts. They are shipped in bulk, and a 40-foot shipping container can transport 12 sets. They have a high degree of design flexibility.
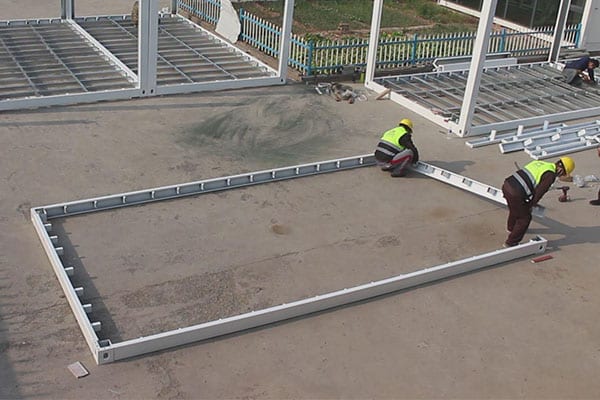
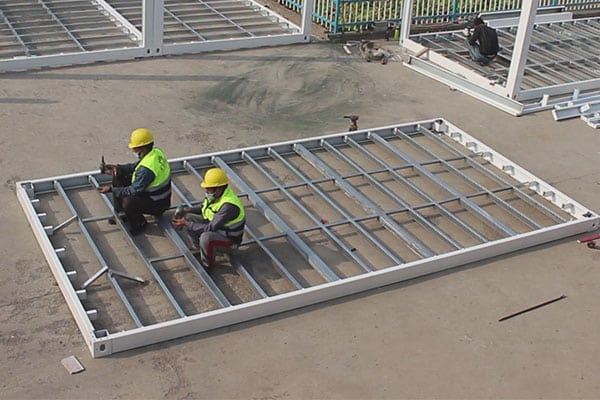
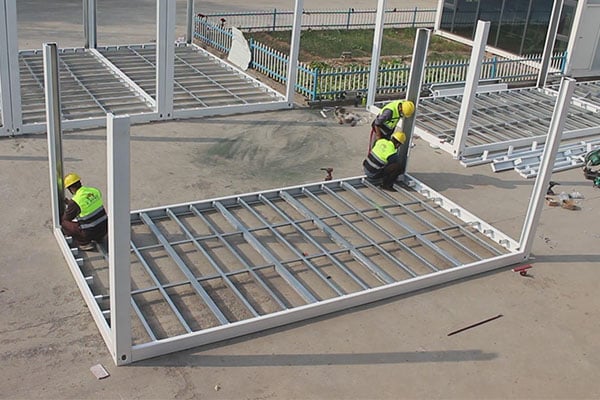
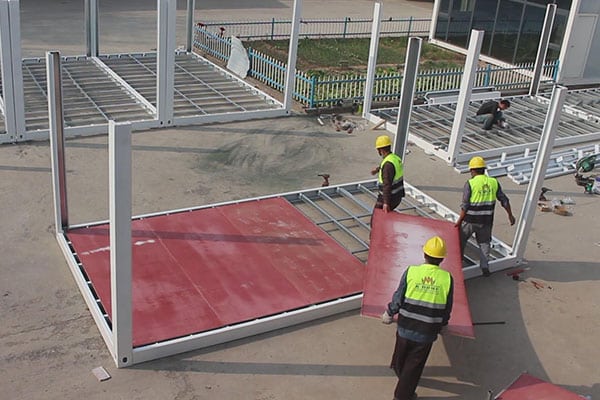
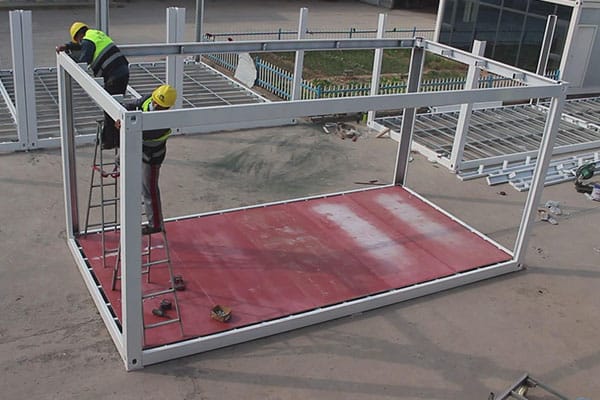
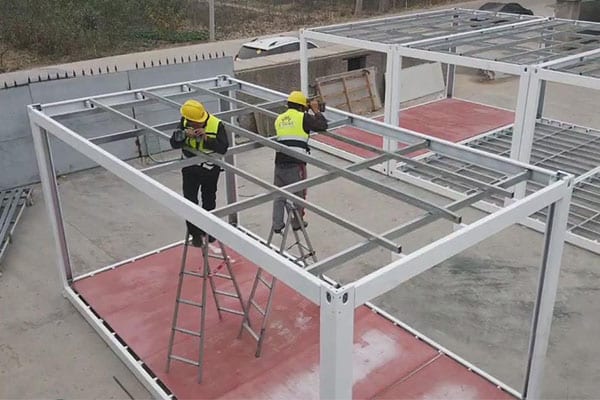
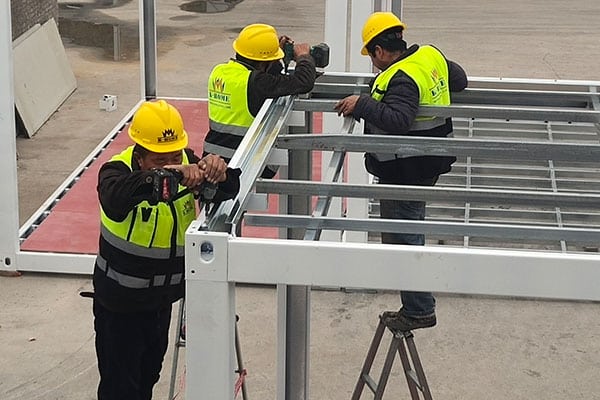
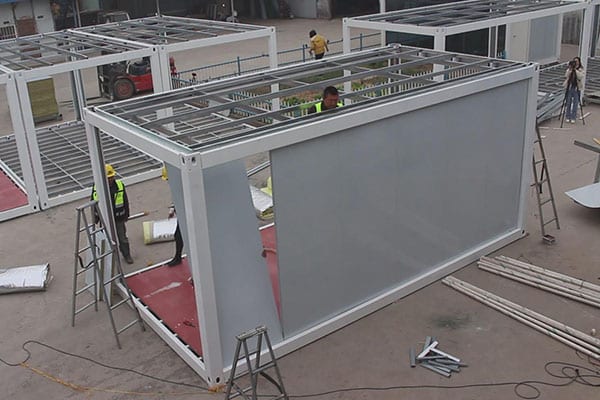
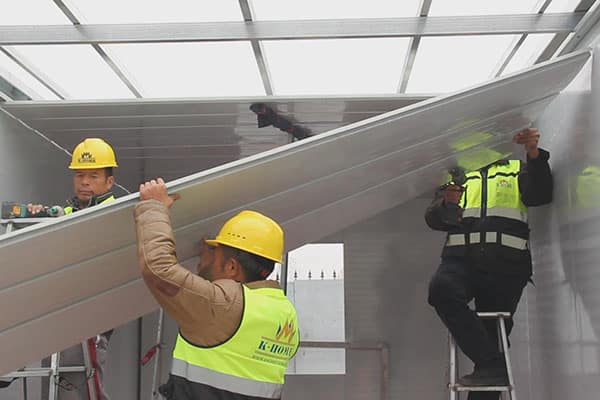
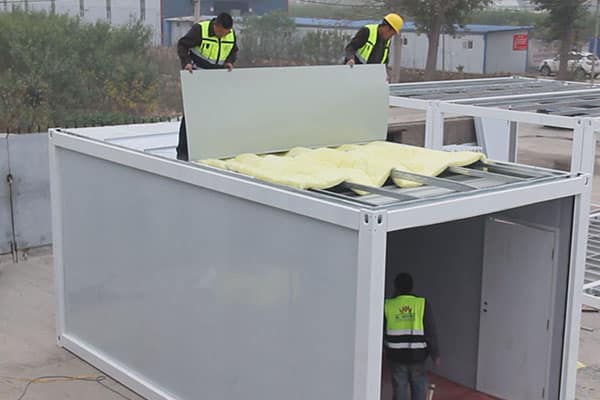
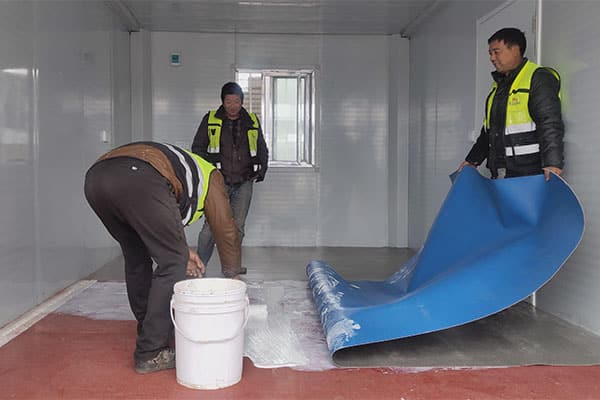
Installation steps: Install ground beam → Install ground purlins → Install four columns → Lay the floor → Install roof beam → Install the roof purlins → Install the gutter & water downpipes → install wall panles → install the concealed project “electrical circuits”(fix the wire on the steel wire and pass it through the wall panel. At the time of attention should be paid to the technology and material use of waterproof construction to ensure safe living.)→ install window & door → Install the Ceiling → Lay the glass wool & Roof Steel Sheet → Lay the Floor Leather → Install the Corner Line of the top, Side, and Bottom
The installation of a single-layer detachable container house only requires bolts. If it is a multi-layer structure, it needs to be hoisted with the help of lifting machinery. You can view our installation video for more information.
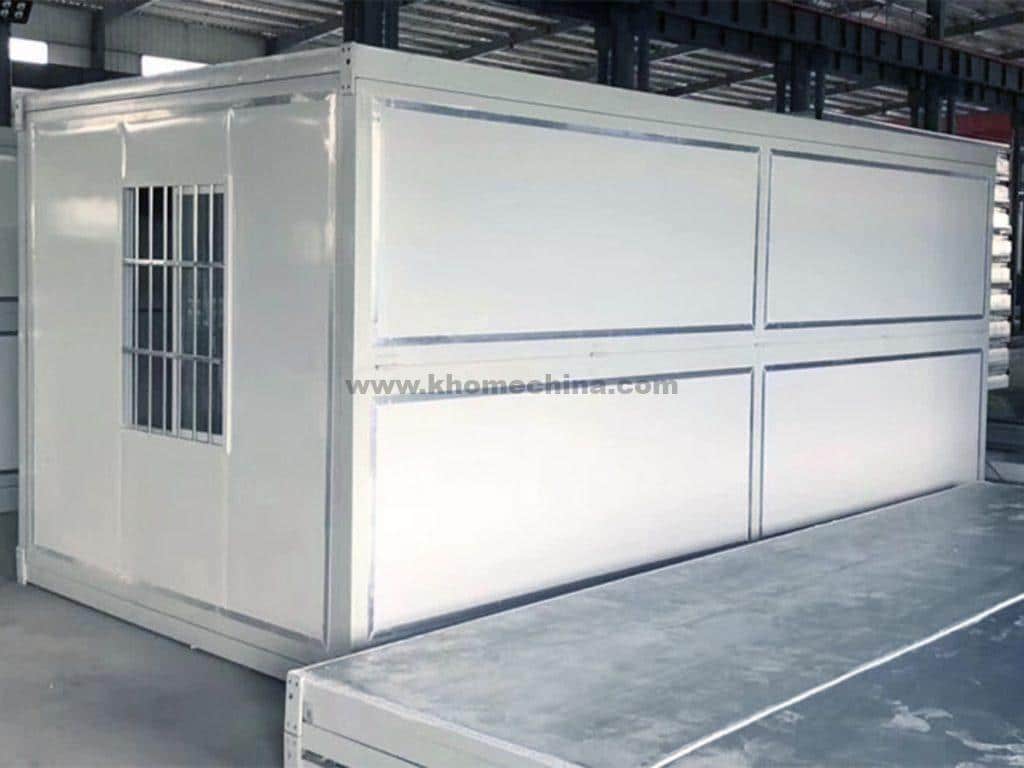
Type 2 : flat pack container installation
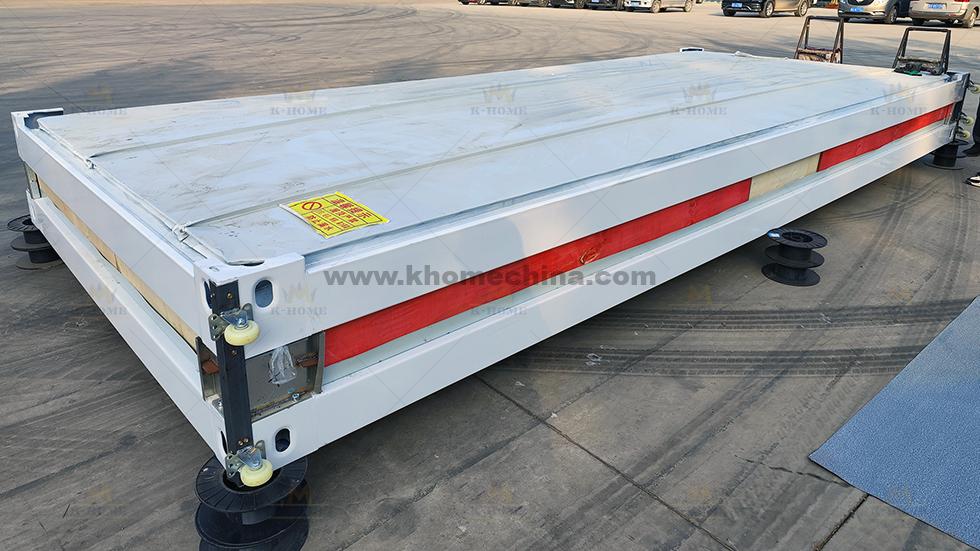
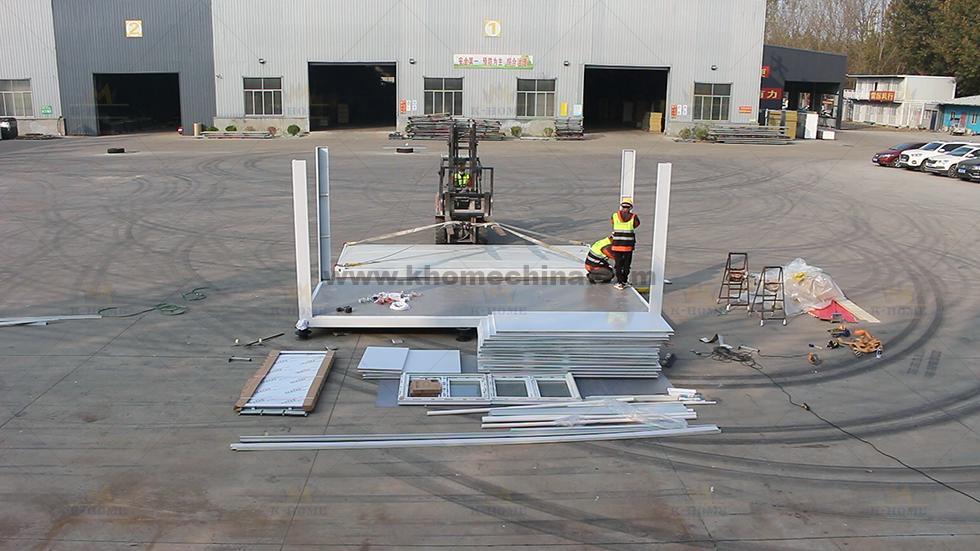
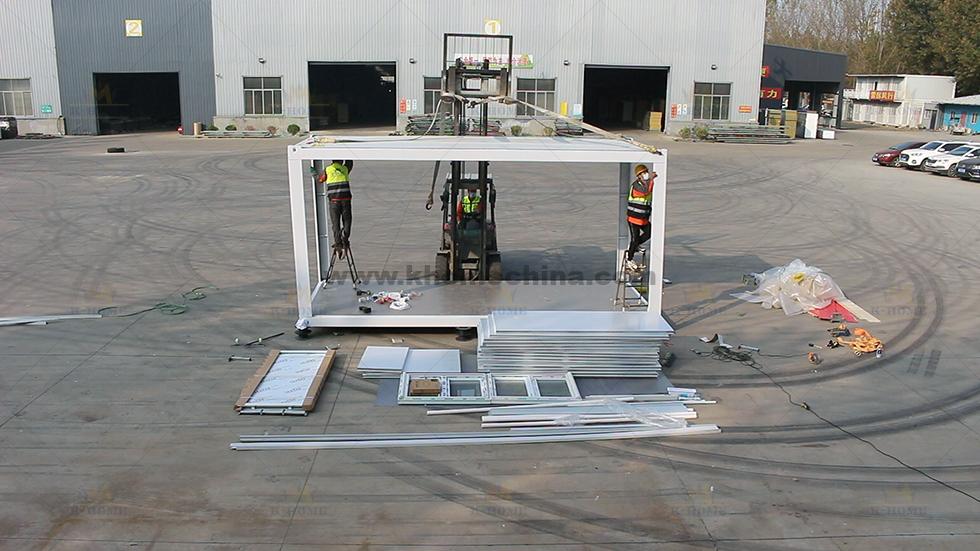
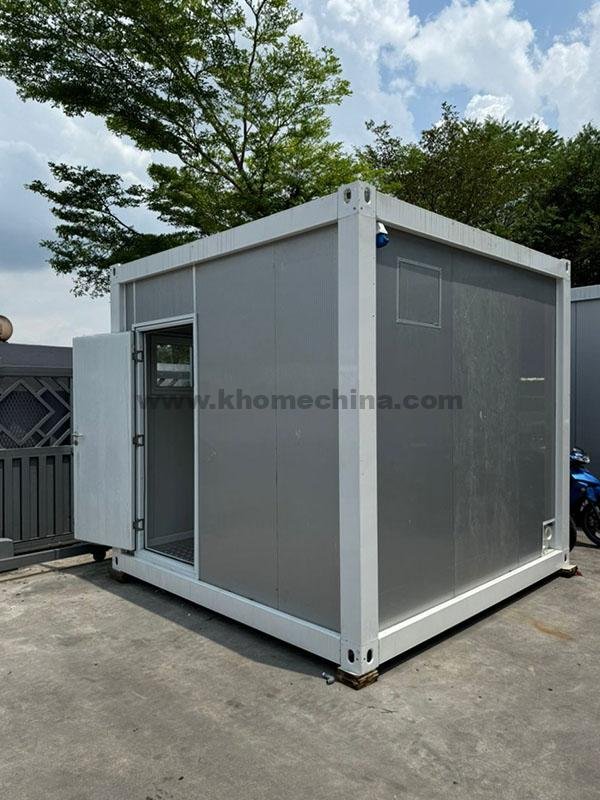
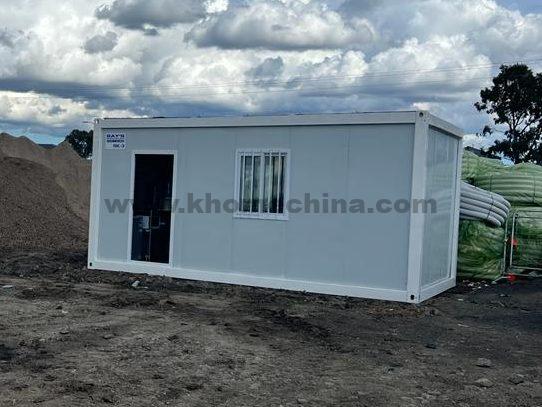
The top and bottom of the flat-pack container adopt an integrated design, which greatly simplifies on-site structural assembly. During construction, the main structure assembly can be quickly completed by simply hoisting and connecting the top module using lifting equipment, greatly shortening the construction period.
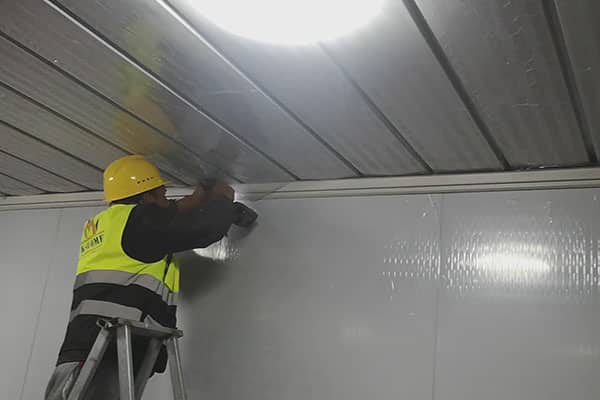
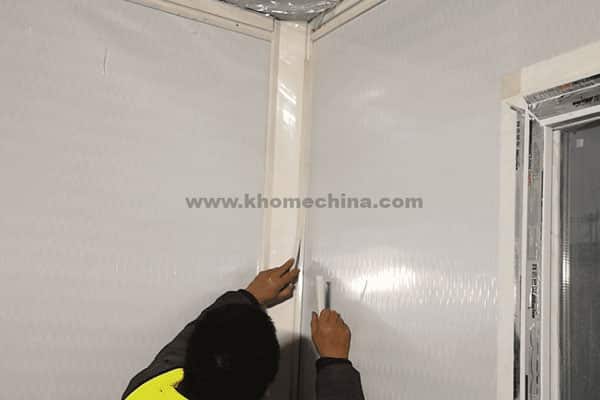
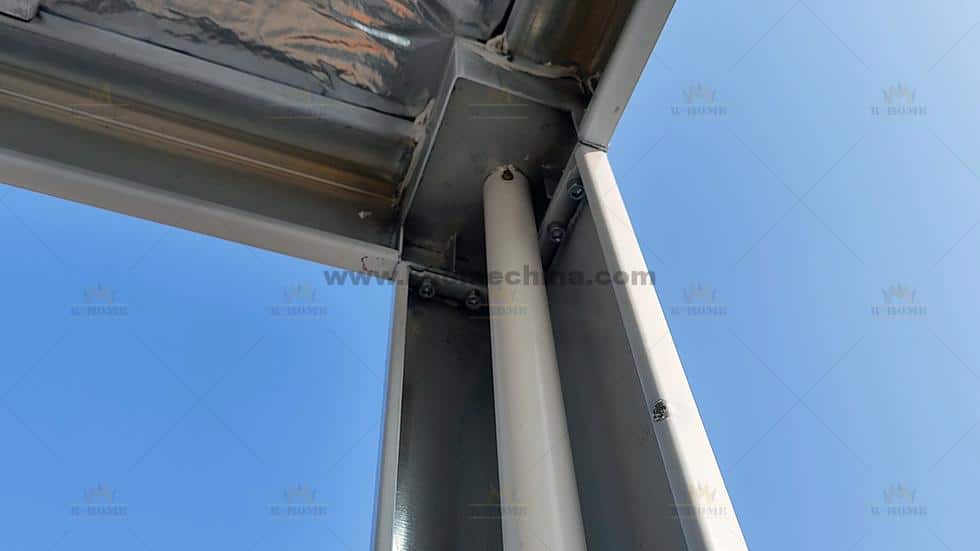
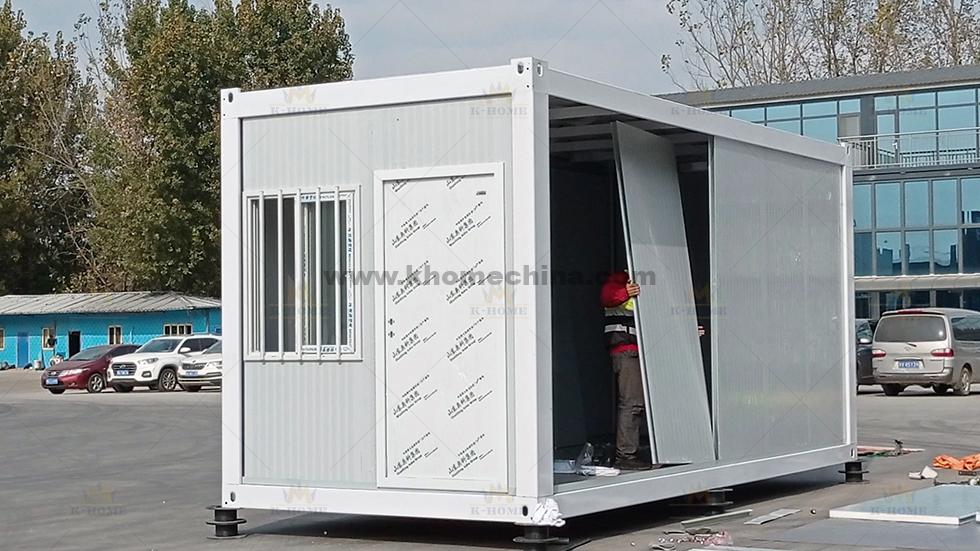
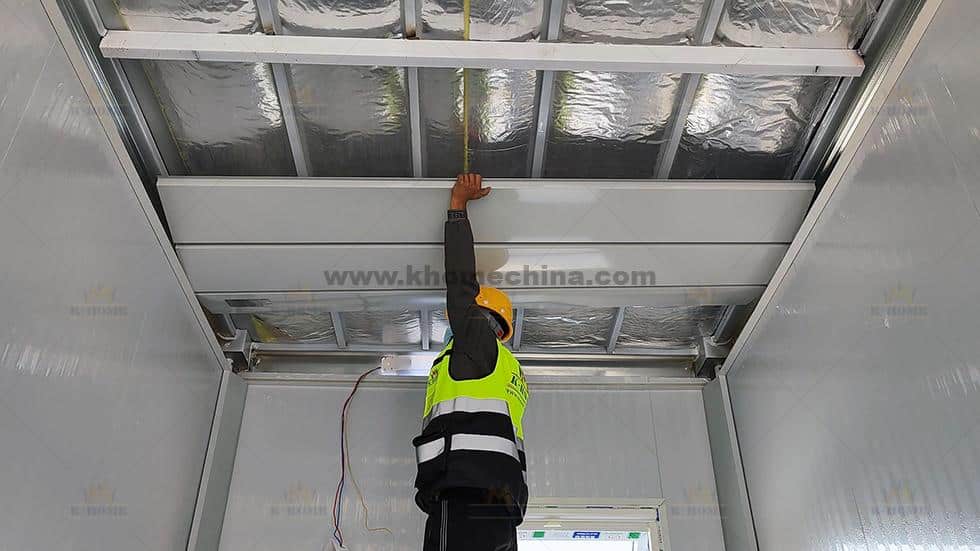
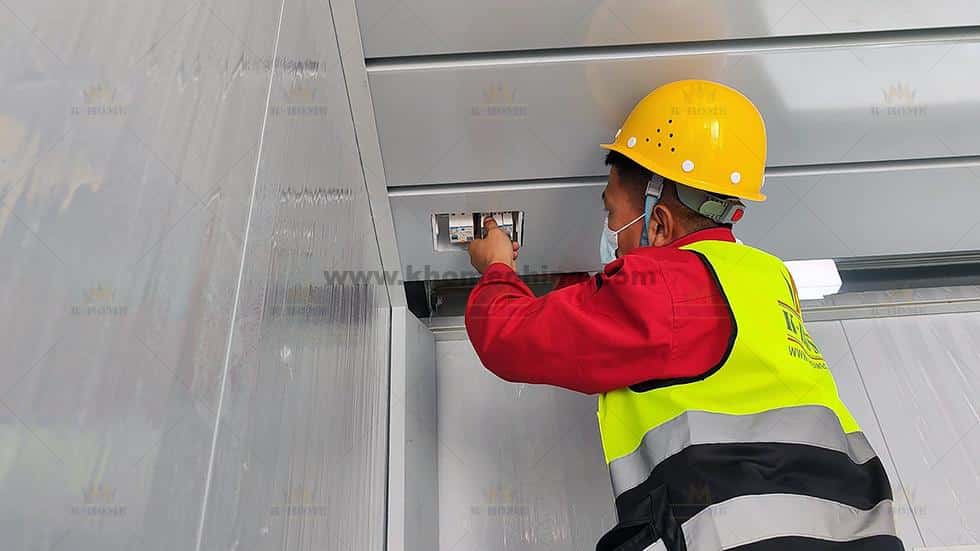
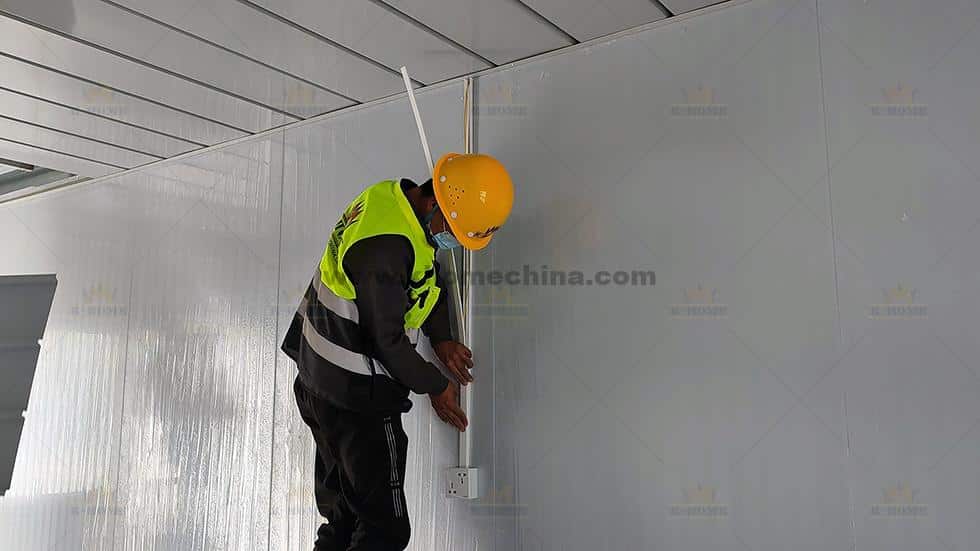
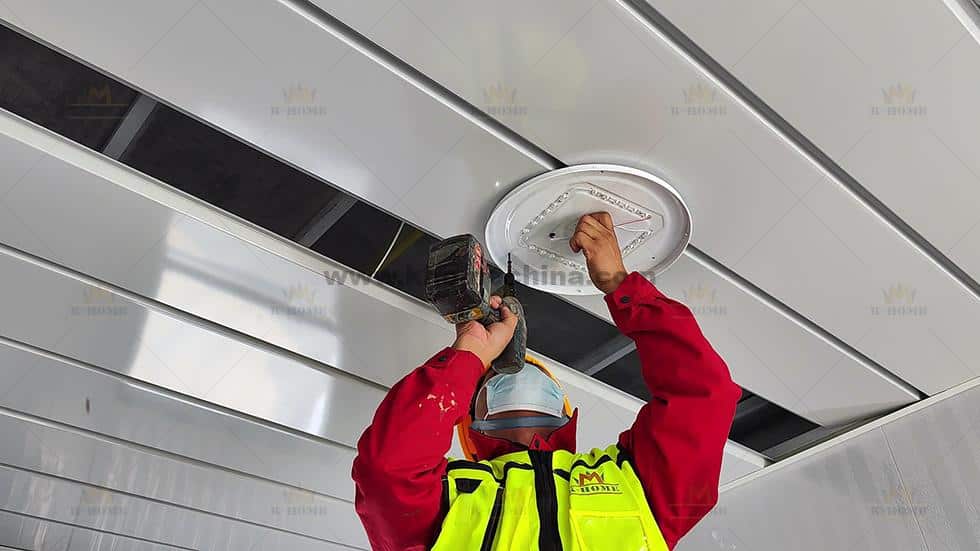
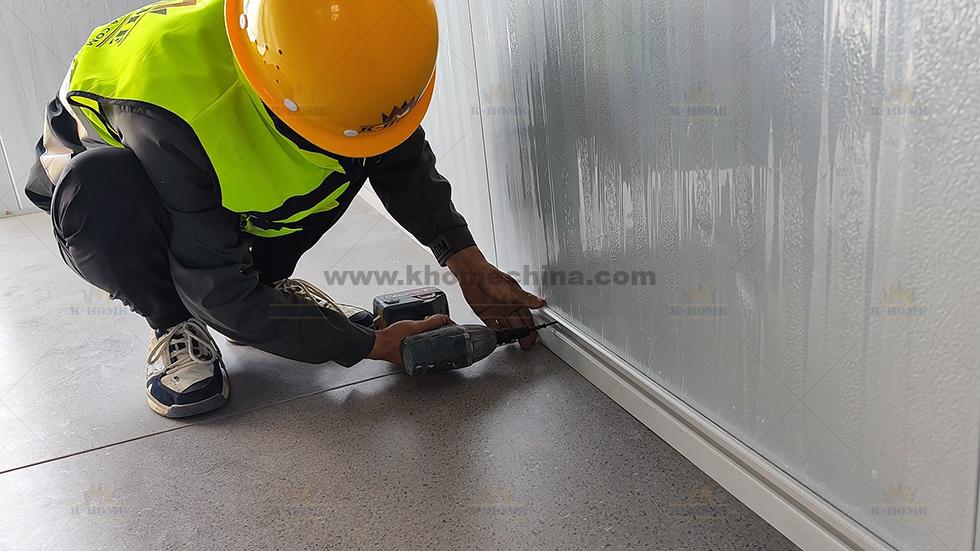
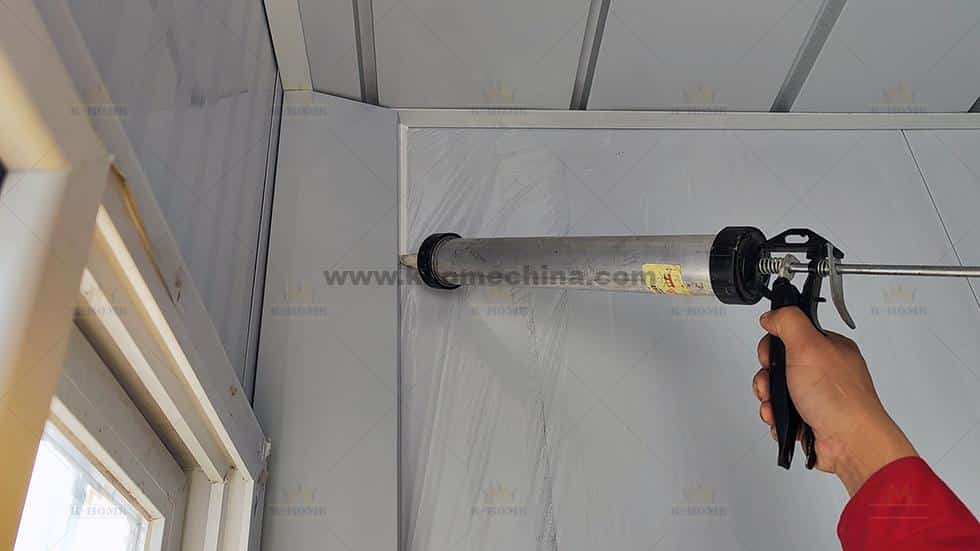
Installation steps: Unpacking → install columns → Install the entire roof structure → install water downpipe → install wall panels → install window & door → install external power supply → Installing the first ceiling → install the Internal power supply → Install the socket → install the ceiling → install the light → Install skirting → Install Corner Line → Fill the gaps with glue
To help you make the most informed decision, we’ve compiled a detailed comparison. Click the link: detachable containers vs flat pack containers to see the advantages and differences between the two at a glance.
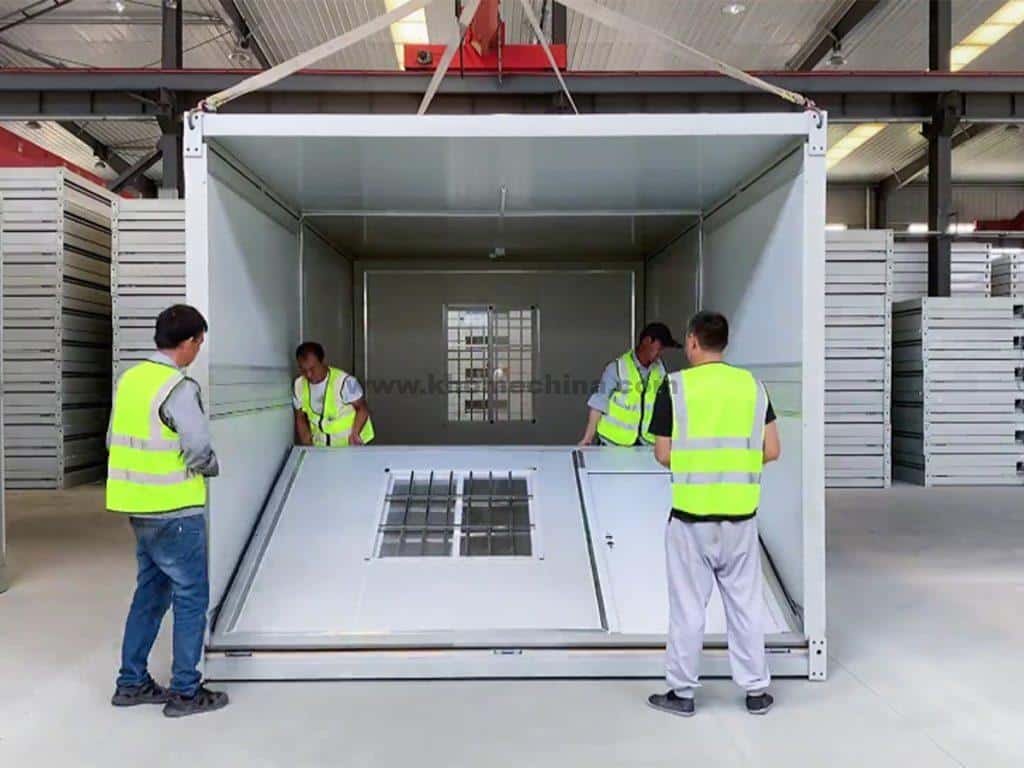
Type 3 : folding container house installation
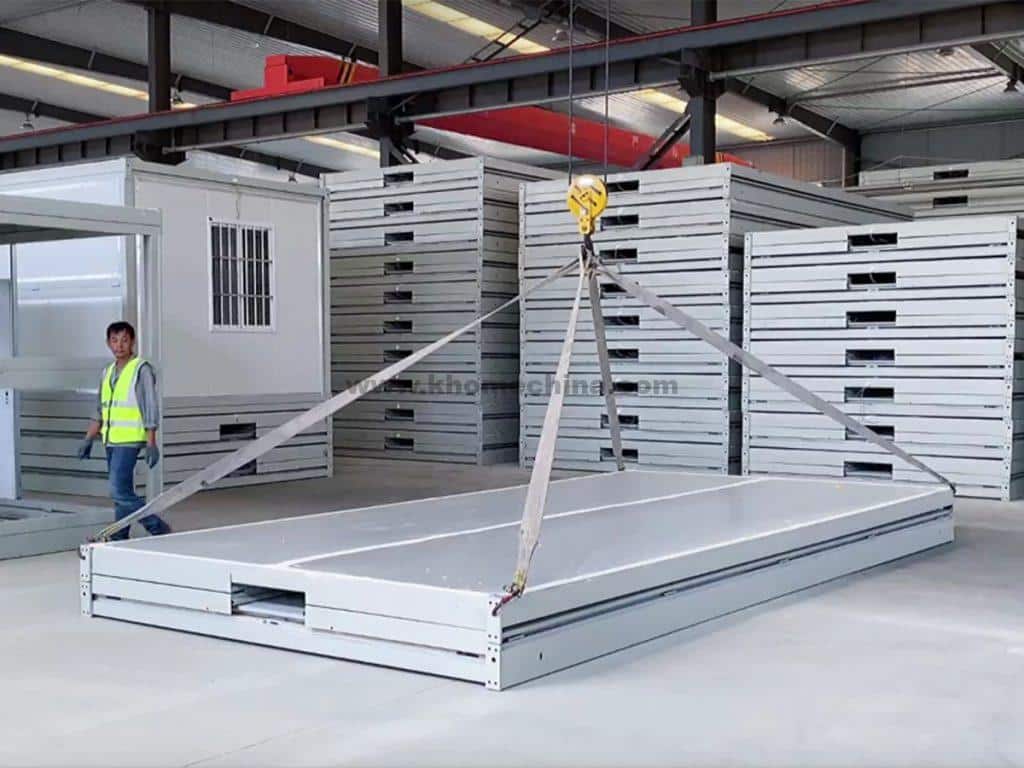
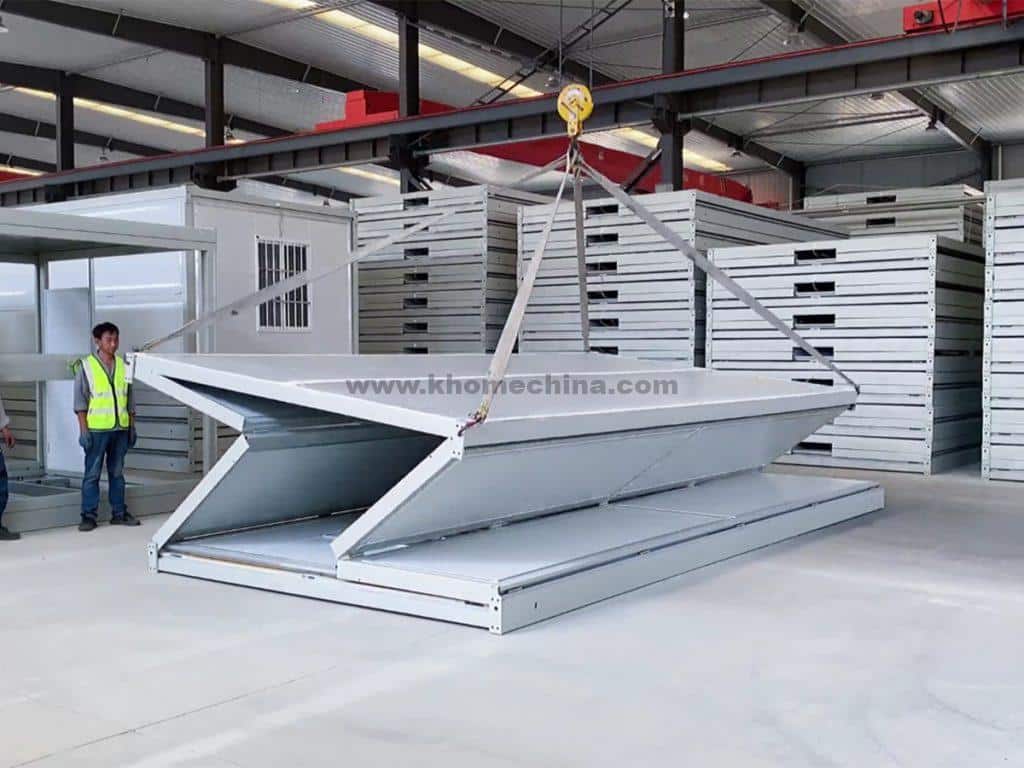
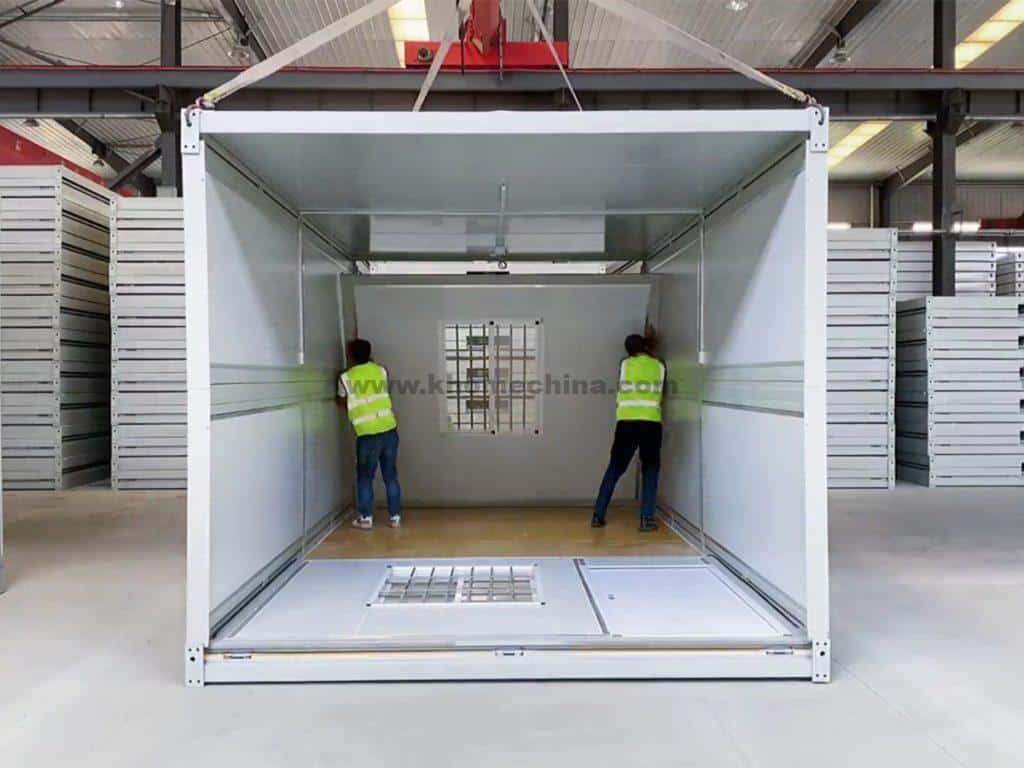
Folding container houses are the fastest-installing modular structures. They are suitable for projects that require a high speed of construction and can be put into use quickly, such as temporary construction sites, temporary housing after disasters, etc.
Frequently Asked Questions About Build Container Houses
Do container houses require a foundation?
It should be noted that before building a container house, you need to consider the foundation of the container house. These foundations determine the strength of the house. Therefore, the basis for choosing the right type is very important.
The main considerations when designing the foundation include:
- Cost: According to the type of foundation laying, including the cost in advance will have your reasonable planning budget.
- Structure: The type of foundation also depends on the container building structure you plan to build.
The secondary considerations when designing the foundation include: Local soil type, Number of combined containers - Soil Type: The type of soil in your area determines the type of foundation you choose. Soft soil requires a deep foundation, while for hard soil, a superficial foundation is sufficient. This is because the hard soil can bear the weight of the container to a large extent.
Number of combined containers
The greater the number of combined containers, the more weight the foundation can bear, which also determines the strength of the foundation you need to choose. If you choose the wrong base type, it will have a catastrophic impact on your entire container building.
Common container house foundations are divided into the following three types:
Dot Pillars Foundation for Prefab Containers Strip Foundation for Prefab Containers All Hardened Foundation for Prefab Containers
Dot Pillars Foundation
Dot Pillars Foundation are the cheapest and simplest foundation. They are a shallow foundation recommended for most container houses. They are concrete cubes containing steel reinforcement. These steel bars provide strength to the concrete. You need to dig the foundation pit according to the soil condition and the size of the container building, then insert the meshed steel wire or steel bar into it, pour the cement, and wait for it to solidify. One container requires six concrete piers. Four of them are used to provide support at the corners of the container. The remaining two are placed in the center of the container to increase the support of the middle part. The concrete piers will not allow the container to directly touch the ground, and this helps to ventilate and drain the bottom.
All Hardened Foundation
The All Hardened Foundation is more expensive than the cost of the pier foundation. For soft soils, this type of foundation is very effective. This type of foundation is less susceptible to termite infestation because there is no hollow space in the foundation. However, if your local climate is relatively humid and rainy, you may face frequent floor maintenance problems. Therefore, you need to choose a suitable foundation type according to the geographical environment and climatic characteristics. You can also inform us in advance so that we can help you make a professional judge.
Drainage System layout planning for container buildings
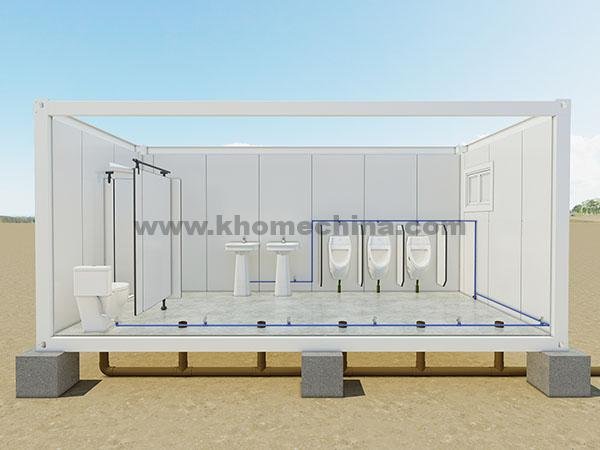
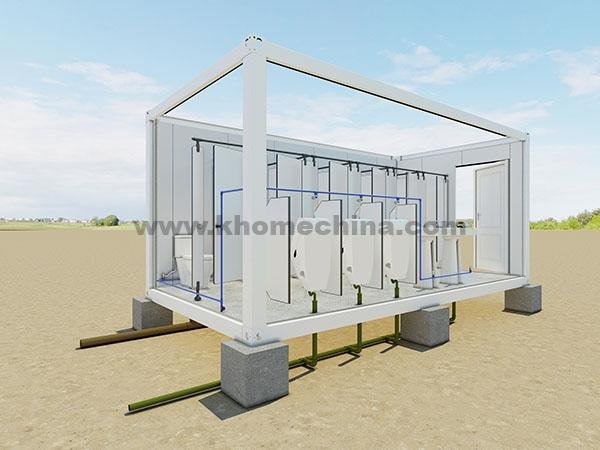
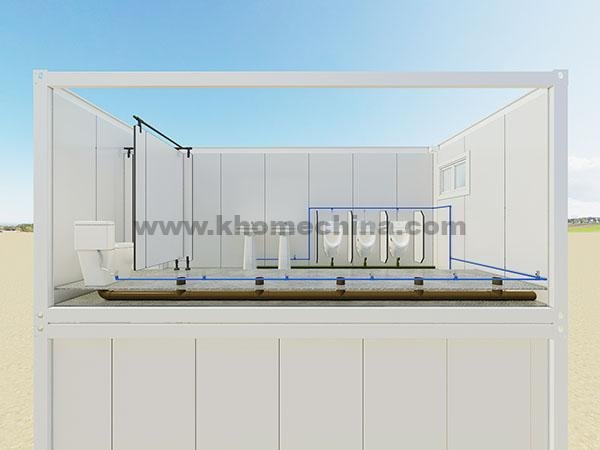
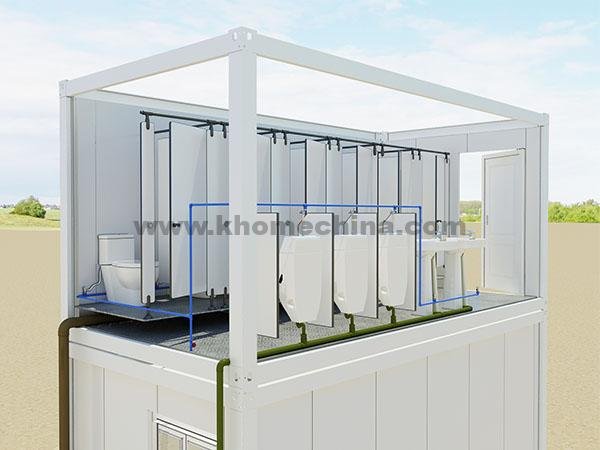
When planning the water system for a container building, a sound drainage solution is crucial for ensuring safety and comfort. K-Home, drawing on extensive project experience, has summarized the following layout guidelines:
1. Single-story container buildings: Drainage options offer flexibility, allowing you to choose between floor drainage and wall drainage, depending on your interior layout.
2. Two-story or multi-story container buildings: For safety and space efficiency, wall drainage is strongly recommended. Using floor drainage on the second floor presents the following significant risks:
- High risk of water leakage: Pipe connections penetrating the floor slab may leak due to vibration or aging, making repair extremely difficult.
- Impact on space and aesthetics: All sewer pipes will be exposed at the top of the first floor, occupying valuable interior space and creating an unsightly effect.
Drainage System-floor drainage Drainage System-floor drainage Drainage System-wall drainage Drainage System-wall drainage
prefab Container house Supplier | k-HOME modular building
As a professional china container house manufacturer, K-HOME is committed to providing you with safe & efficient modular building solutions.
At K-HOME, we pride ourselves on being a premier container house supplier that places quality at the forefront of everything we do. From the very inception of our containers to their final installation, we meticulously curate every aspect, ensuring that our homes exceed the industry’s highest benchmarks for durability, safety, and sustainability. We guarantee that each K-HOME prefab container is built to last, withstanding the test of time and the elements.
Committed to Creative Problem Solving
We tailor each modular building to your needs with the most professional, efficient and economical design.
Buy direct from the manufacturer
Modular container buildings come from the source factory, carefully selected high-quality materials to ensure quality and durability. Factory direct delivery allows you to get accommodation containers at the best price.
Customer-centric service concept
We always work with customers with a people-oriented concept to understand not only what they want to build, but also what they want to achieve.
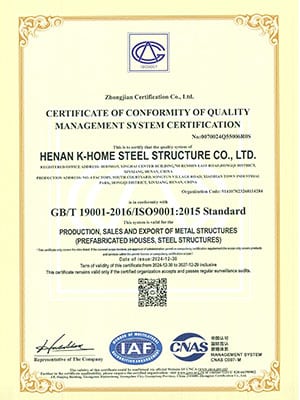
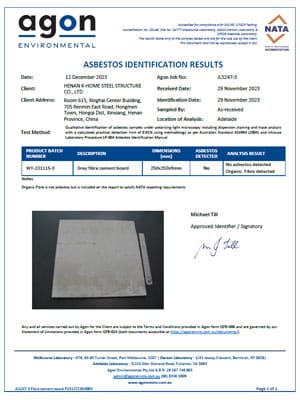
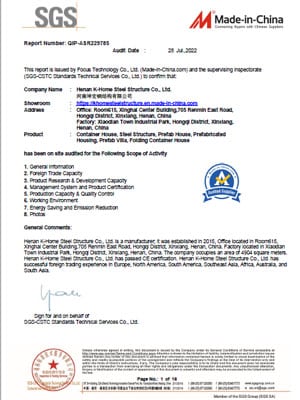
Comprehensive Certifications
We uphold the highest standards. Behind every building is a rigorous commitment to safety, quality, and sustainability, backed by dozens of internationally recognized certifications.
To learn more about our offerings, discover how we can tailor a solution to suit your specific requirements, or to schedule a consultation, please don’t hesitate to reach out to us. Our friendly team is always ready to assist you and guide you every step of the way towards owning your accommodation container.
Related Project
Related Articles
SEND A MESSAGE

